
Place · 1.5 mi away
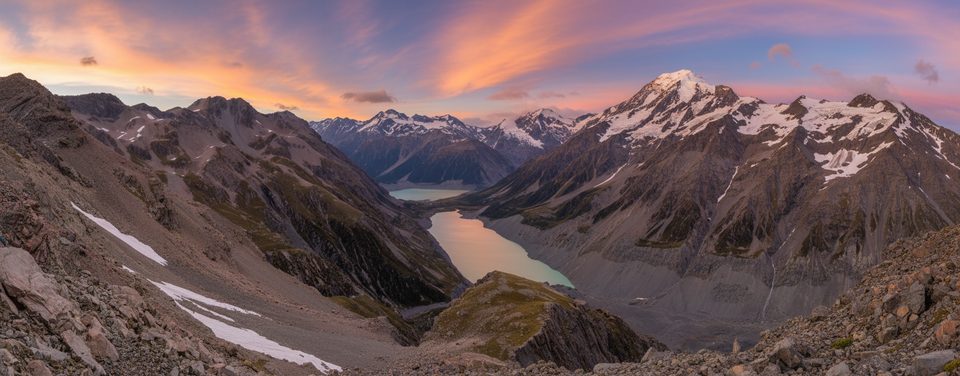
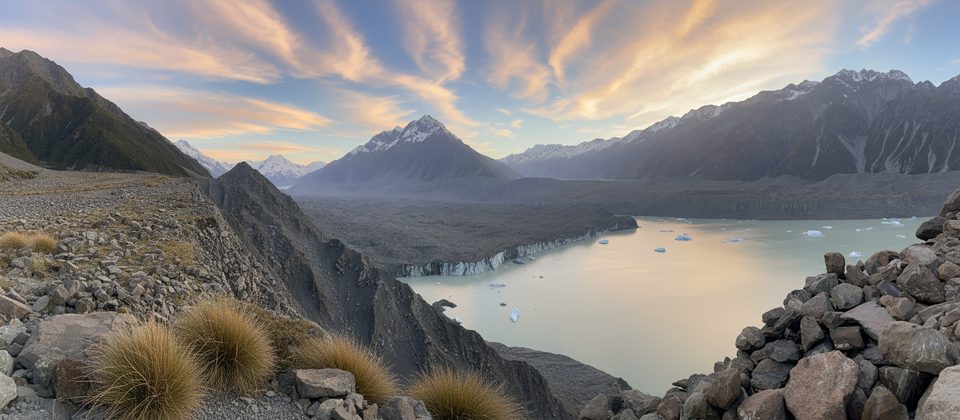
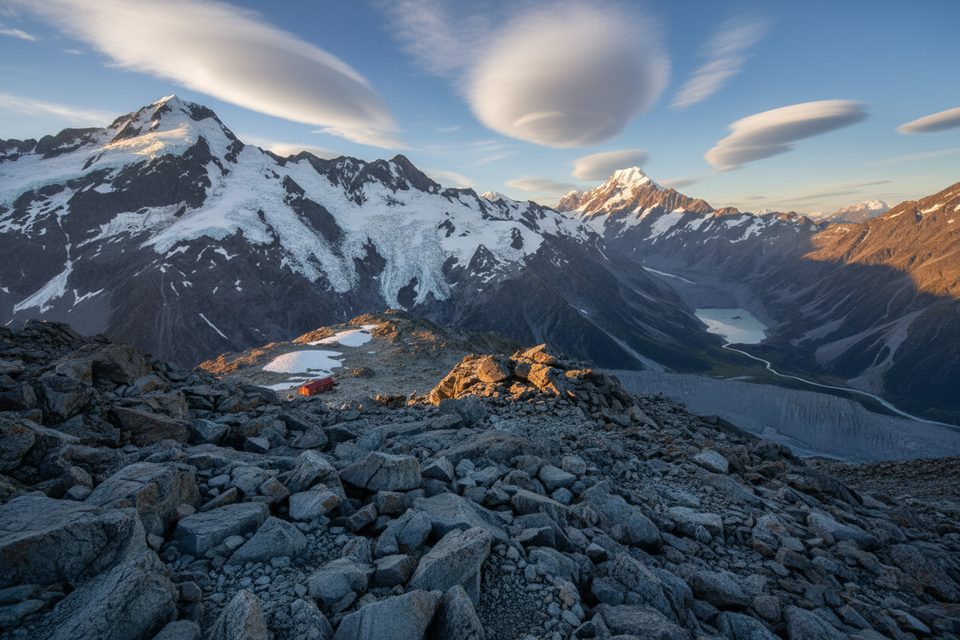
Kaitiaki Peak (2,222 m) is a sharp, alpine objective on the Kirikirikatata/Mt Cook Range. The name “Kaitiaki” means guardian or custodian—fitting for a perch that looks straight across to Aoraki/Mt Cook’s grand south aspects. This is not a waymarked day walk; it’s an alpine climb that rewards competent parties with commanding views over glacier country.
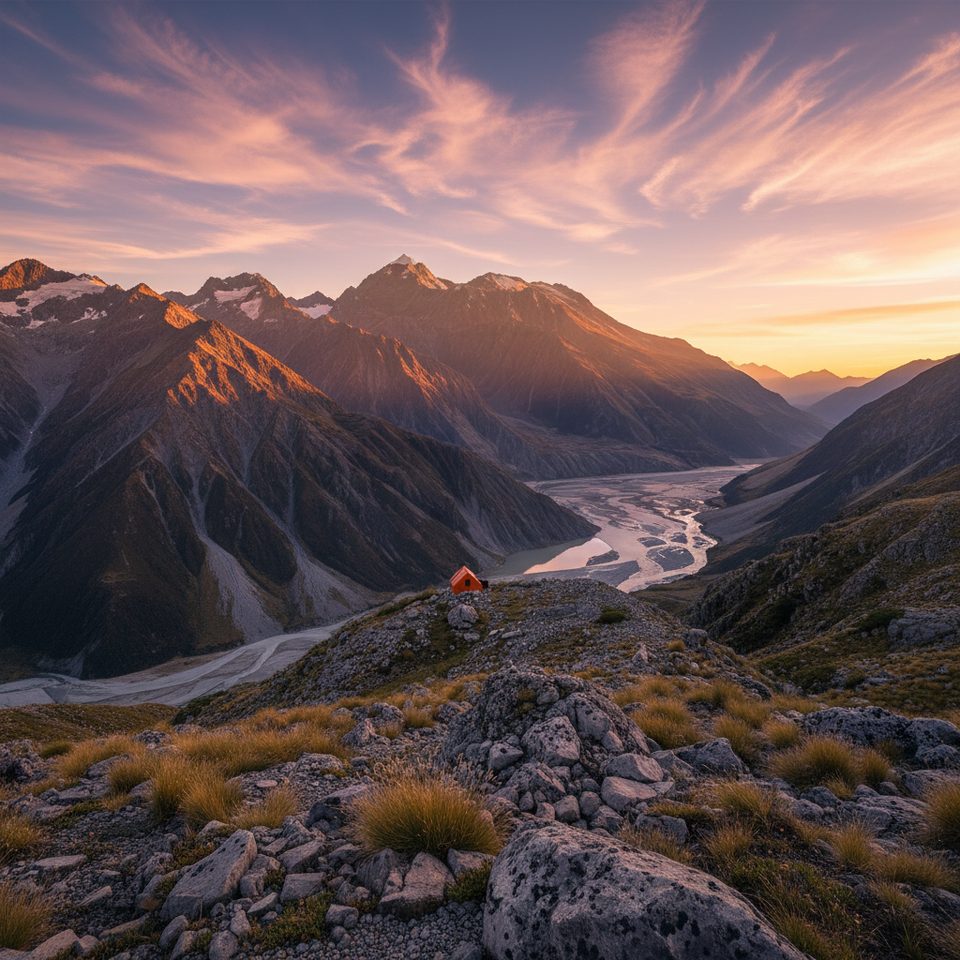
From the summit and Ball Ridge you get sweeping vistas of the Tasman Glacier, the South Ridge/South Face of Aoraki/Mt Cook, Hooker and Mueller glaciers, Mount Sefton, and even toward Copland Pass. On settled nights, you may hear small avalanche activity rumbling off nearby faces.
You’ll need confident movement on steep rock and scree, snow travel skills, crampons and ice axe, a helmet, solid route‑finding, and conservative weather judgment. Expect exposure on Ball Ridge, potential rock/ice fall, rapidly changing weather, and committing terrain on the Hooker‑side descent. Check avalanche terrain and current advisories before you go.
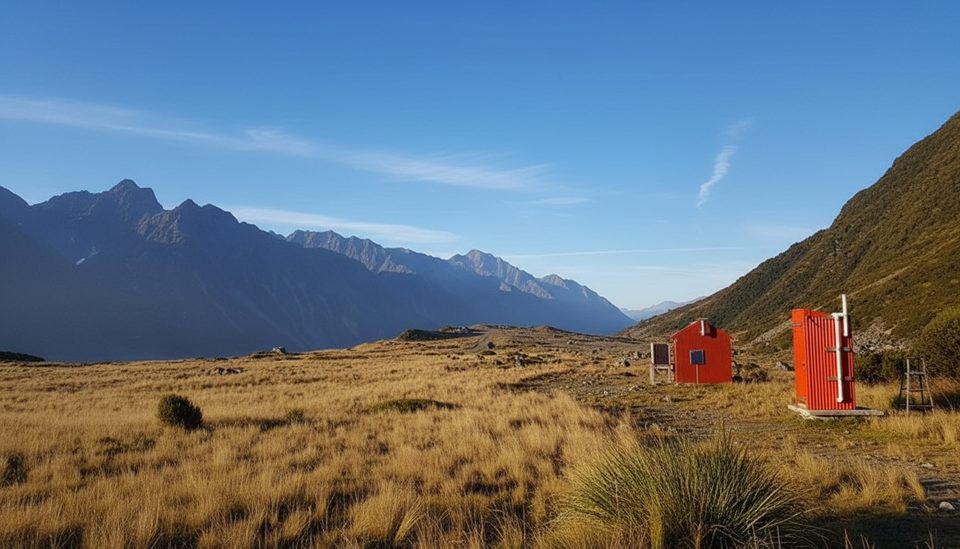
Access the park via State Highway 80; trailheads are the Blue Lakes Shelter (Tasman side) and the Hooker Valley/Whitehorse Hill side if you traverse. Along the approach, you’ll pass Ball Hut and Caroline Hut and find bivy spots on the ridge—there are no services on the peak itself. In the village, there’s a small convenience store and limited lodging; Whitehorse Hill Campground operates first‑come with self‑registration.
Aim for a settled summer weather window and be ready to shift your dates—conditions change quickly here. There are no hours or signage to worry about; your go/no‑go is entirely about the forecast and your team’s experience. If conditions or confidence waver, treat Kaitiaki as an out‑and‑back on Ball Ridge rather than committing to the Hooker‑side descent.
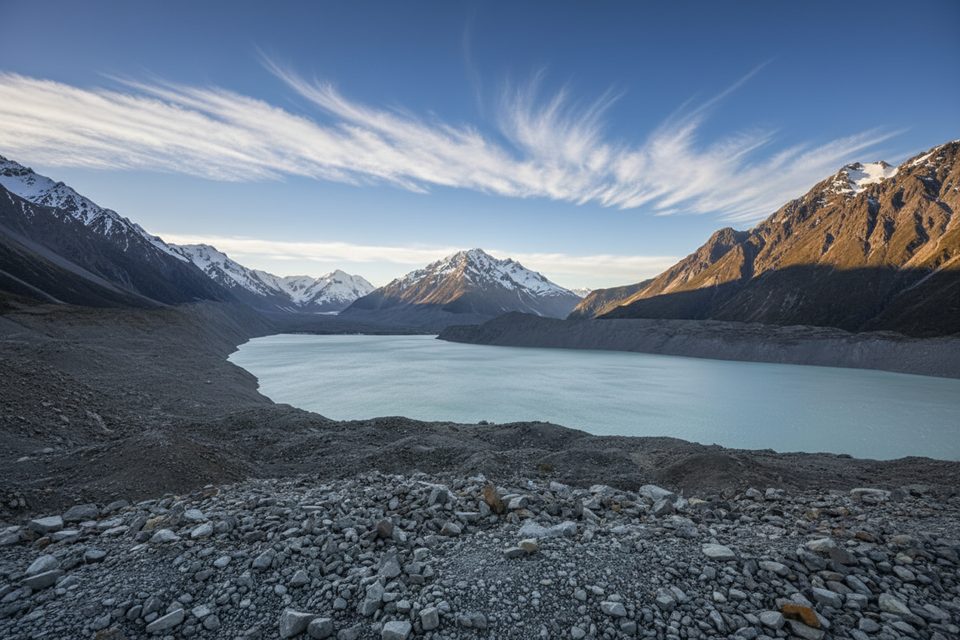
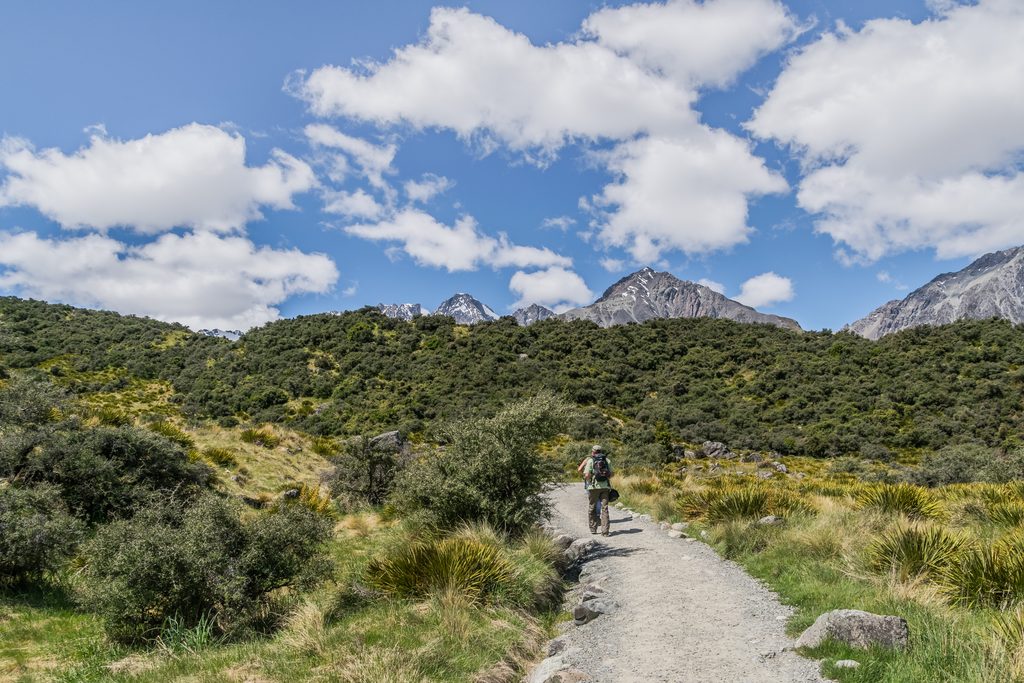
If you’d prefer non‑technical options, the park’s classics deliver: Hooker Valley Track (easy, 10 km return), Tasman Glacier Lookout and Blue Lakes (~1 hour total), Kea Point (~1 hour), Sealy Tarns (steep stairs, big views), and Mueller Hut (advanced hike with alpine conditions possible).
Place · 1.5 mi away
Place · 1.8 mi away
Place · 1.9 mi away
Place · 2.4 mi away
Easy · 3.7 mi away
Easy · 3.7 mi away
Challenging · 5.9 mi away
Challenging · 5.9 mi away
Parkwolf Tour Guide