
Place · 0.2 mi away
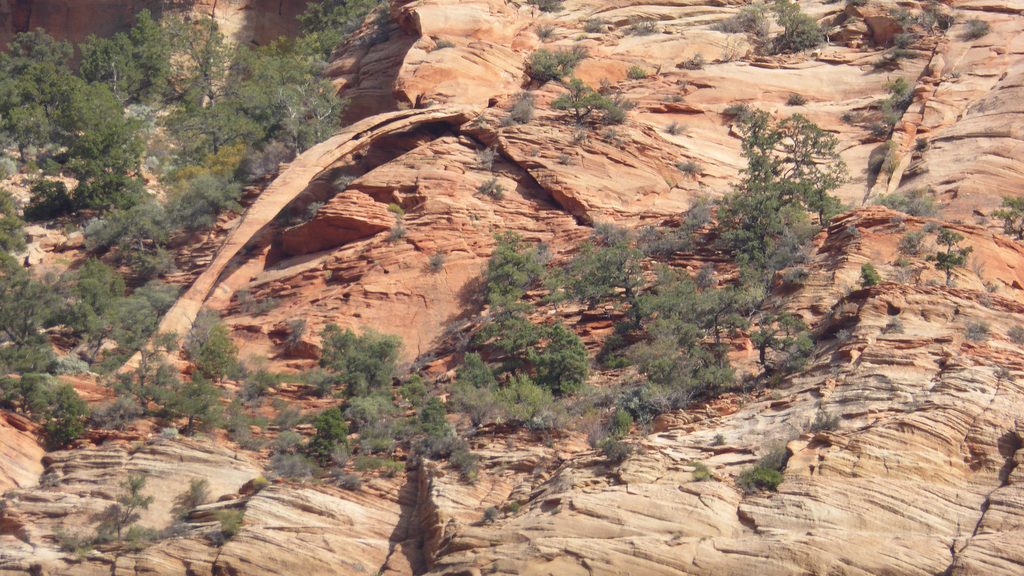
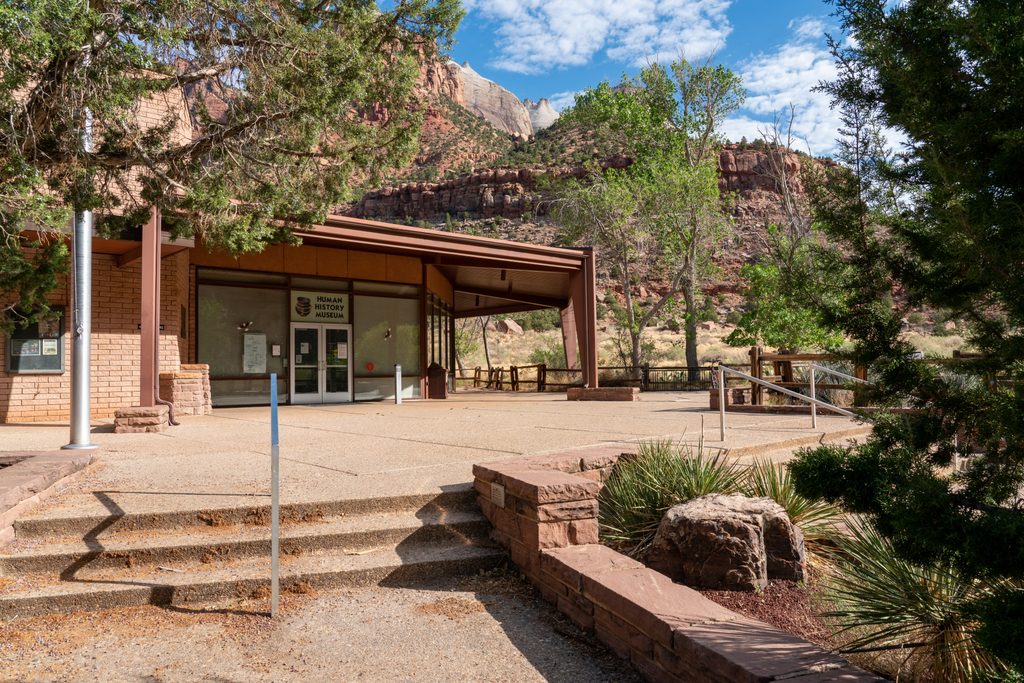
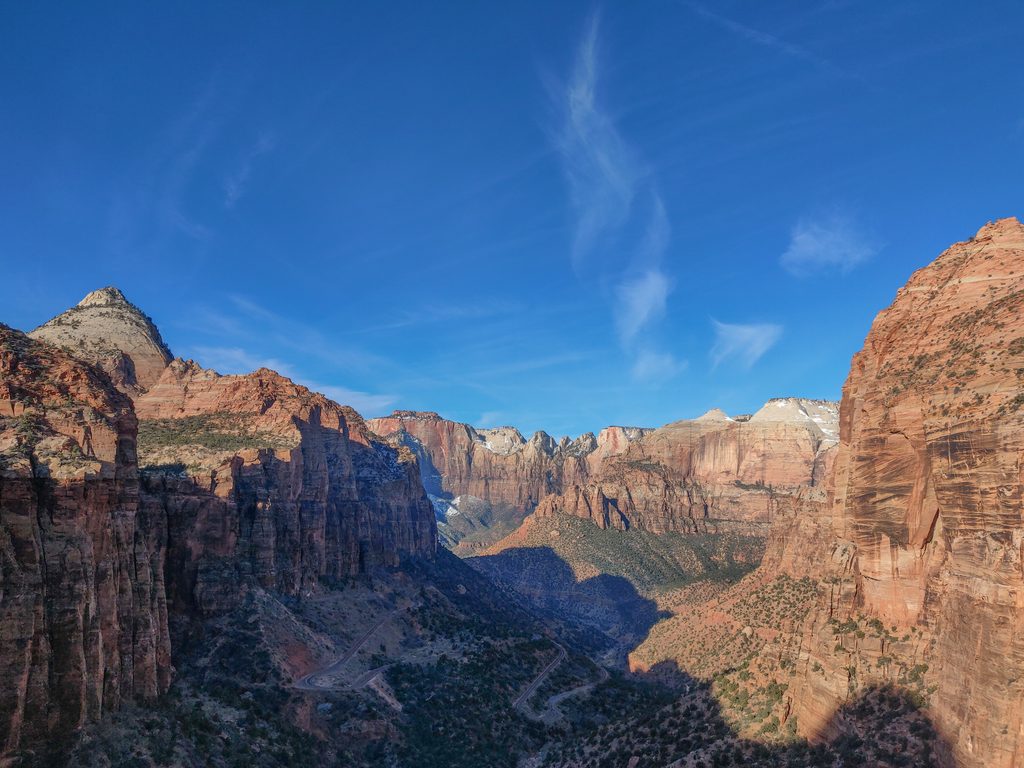
Bridge Mountain Arch—often called Crawford Arch—is a dramatic sandstone span perched high above the main canyon. It’s one of the park’s most committing scrambles: remote, off-trail, and full of route-finding puzzles. If you’re not an experienced scrambler, it’s better admired from the valley floor at the Human History Museum than attempted up close.
This isn’t a signed trail. Parties typically stage from the Canyon Overlook parking area, dropping into Pine/Clear Creek and entering Gifford Canyon. From there, it’s sustained slickrock and sand: climb W/SW to a broad bowl and sand flats, detour around an impassable dryfall, then descend into an east–west canyon to reach Hepworth Wash. Past the wash, head NW toward a couloir/saddle on the NE side of Bridge Mountain. Expect loose sand over slabs and an exposed traverse en route to the crux chimney.
The chimney is roughly 40 feet and feels low 5th class. Many parties belay it and later rappel from a tree on the return. Above, exposed ledges lead to easier terrain and then the arch. Some carefully step onto the arch itself, but only if conditions are dry and you’re fully comfortable with the exposure.
Most of the day is class 2–3 slickrock and sand, with short class 4/low 5th sections and meaningful exposure. Loose sand on steep slabs, unreliable anchors, heat, and the real possibility of getting cliffed out are the main objective hazards. A fall could be fatal, and any rescue would be slow. Avoid wet rock entirely—slickrock plus moisture is a bad combo.
Trip reports have documented fresh mountain lion tracks along this route. Keep your group tight, especially where visibility pinches.
There are no facilities or water anywhere along the way. Bring all the water you’ll need, plus helmet, sticky approach shoes, a short rope and light belay/rappel kit for the chimney, and backup webbing if an anchor needs replacing. Navigation tools (map and GPS) are essential—there’s no single “correct” line on the slickrock, and even recorded tracks can glitch near the arch and summit.
If exposure or conditions feel off, excellent turnaround vistas include the sand flats above Gifford Canyon, Hepworth Wash, or the couloir saddle. Strong parties sometimes combine the arch with the summit of Bridge Mountain, but expect additional 3rd–5th class scrambling, exposed traverses, and loose sandstone.
Go in cool, dry weather and start at dawn to bank daylight. Avoid extreme heat and any chance of thunderstorms (washes and slickrock don’t play nice with storms). For a casual view with zero commitment, swing by the Human History Museum during daylight hours and spot the arch high on the wall.
Fit, experienced off-trail scramblers with solid route-finding and basic rope skills. Not for casual hikers or anyone uncomfortable with exposure.
Place · 0.2 mi away
Place · 0.6 mi away
Place · 0.7 mi away
Place · 0.7 mi away
Moderate · 1.1 mi away
Easy · 1.1 mi away
Easy · 1.2 mi away
Easy · 1.4 mi away
Parkwolf Tour Guide