Pros & cons
PROS
- Broader, elevated view straight into the crater’s central uplift
- Quieter than the first overlook with more dramatic perspective
- Interpretive panels explain the impact vs. salt-dome debate
CONS
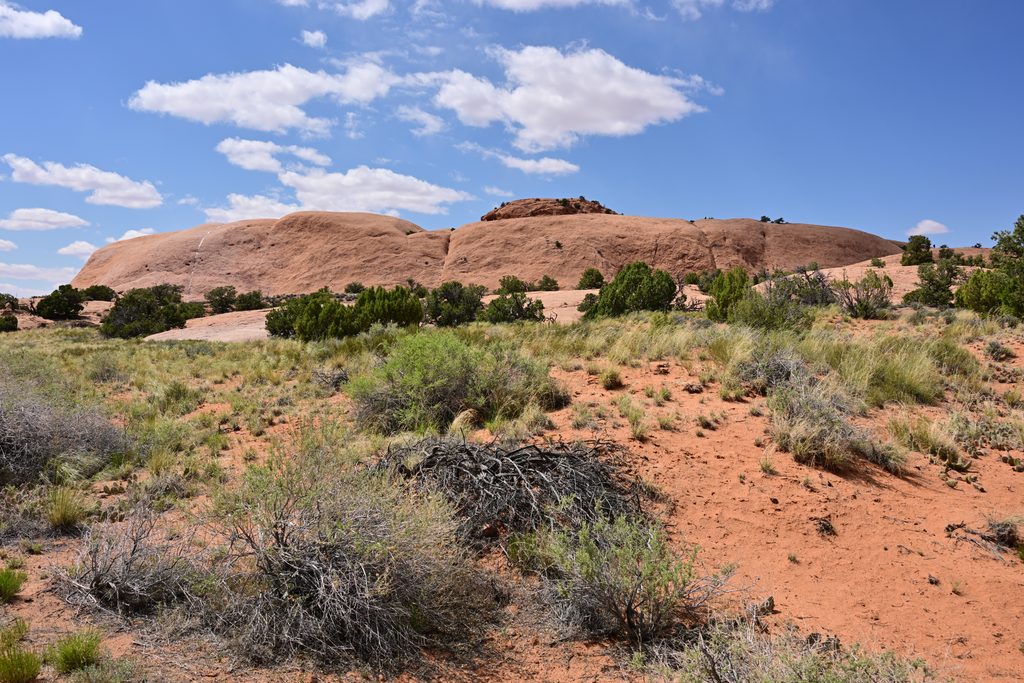
- Exposed slickrock and wind; little to no shade
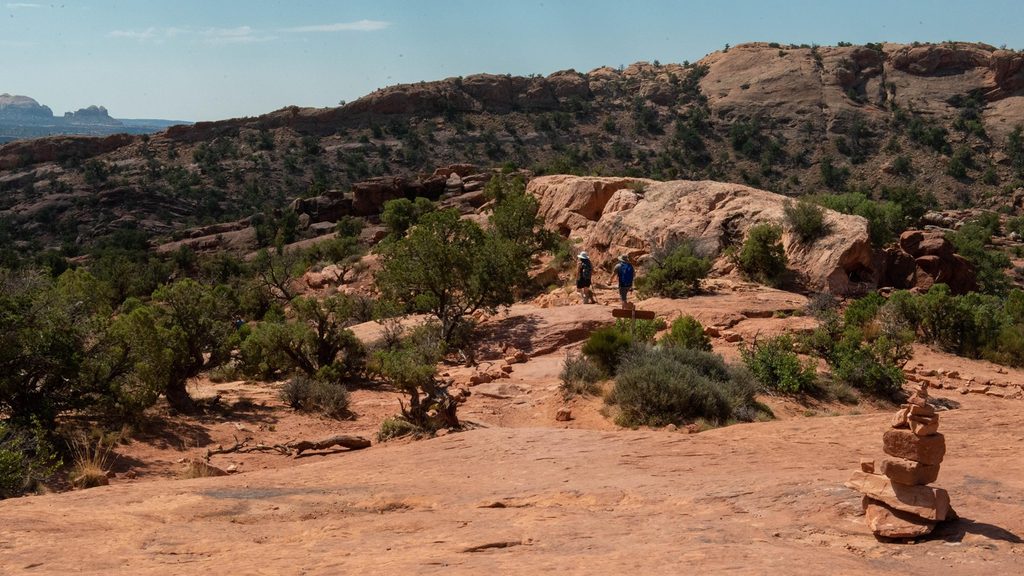
- Trail navigation follows cairns and has airy drop-offs
Overview
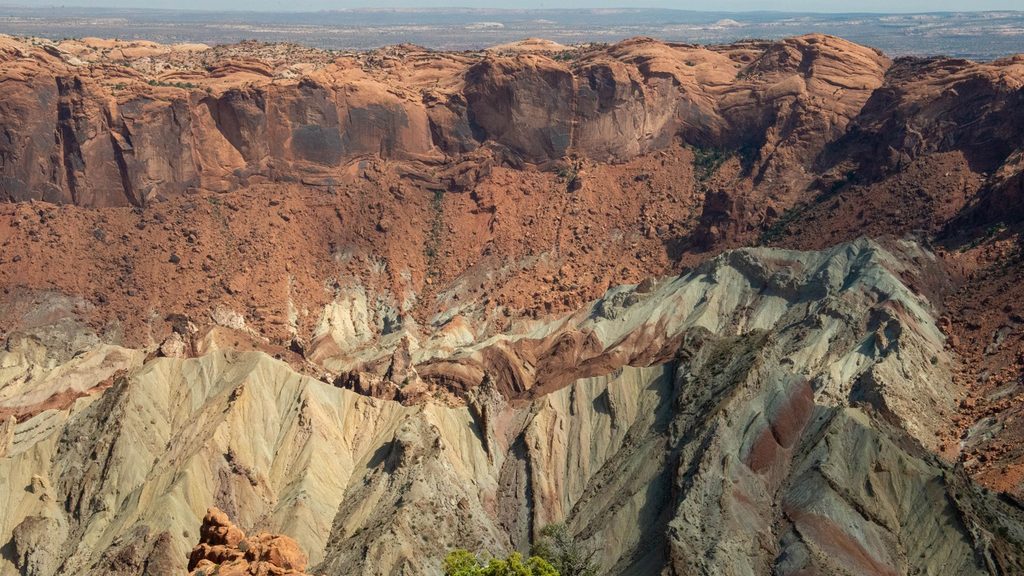
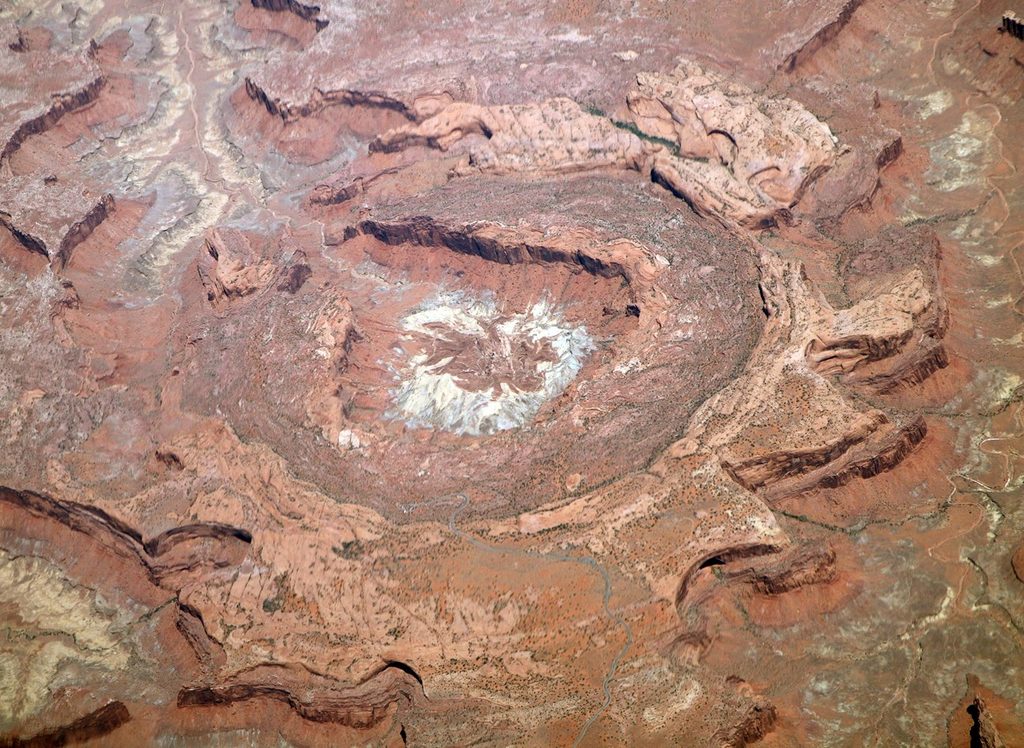
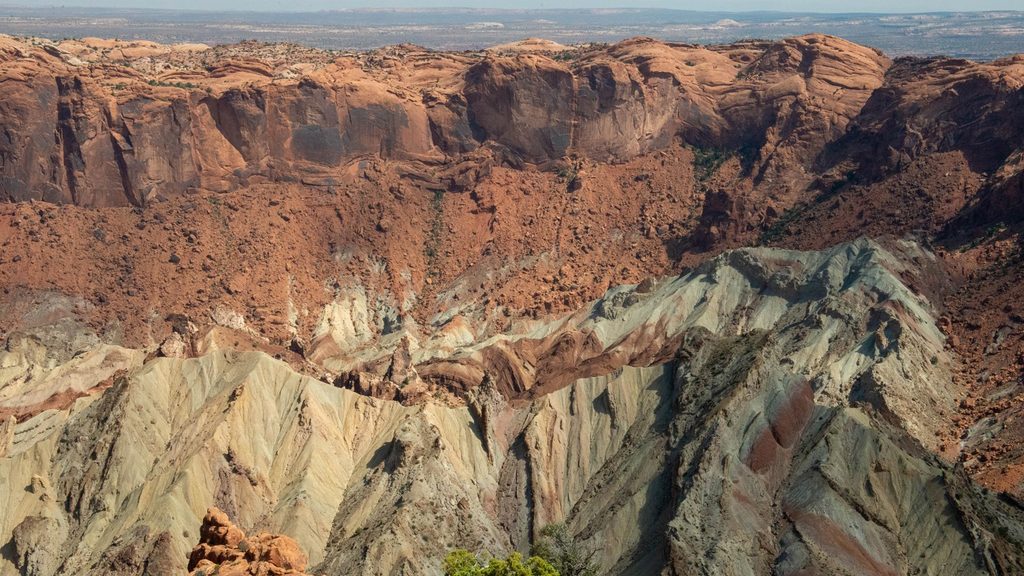
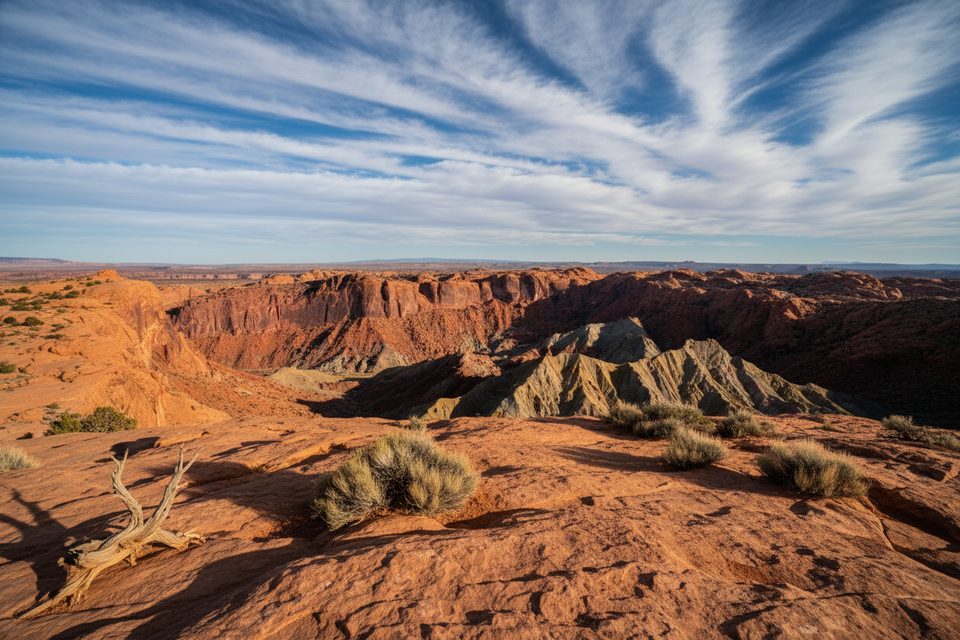
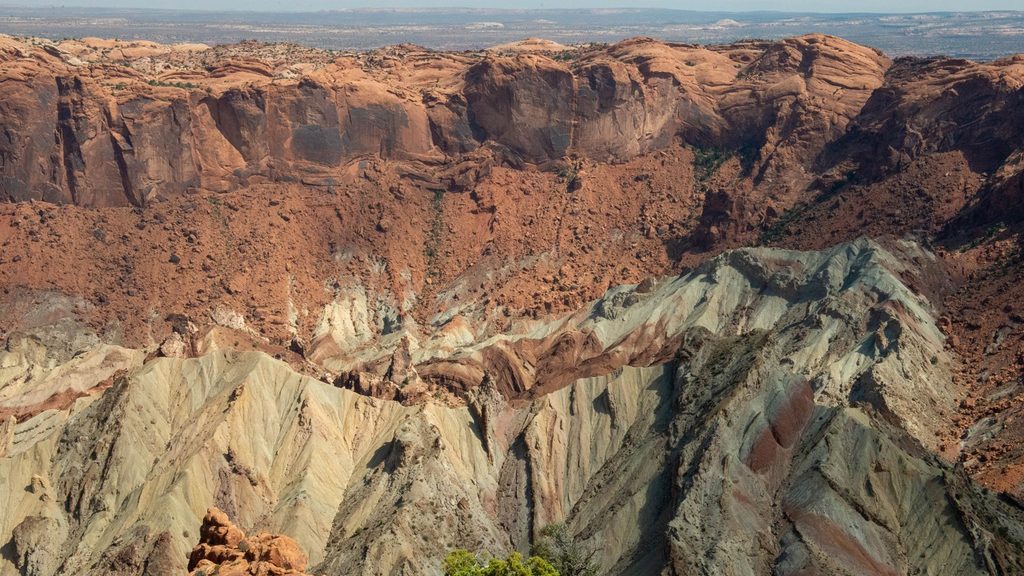
If you’re already walking to the first viewpoint, go the extra distance—this second overlook is where Upheaval Dome really clicks. From higher up on the rim, you peer straight into the heart of this three-mile-wide, still‑debated crater and its jumble of uplifted, colorful rock.
What You’ll See
- A sweeping, top‑down angle on the central uplift and contorted strata that ring the crater.
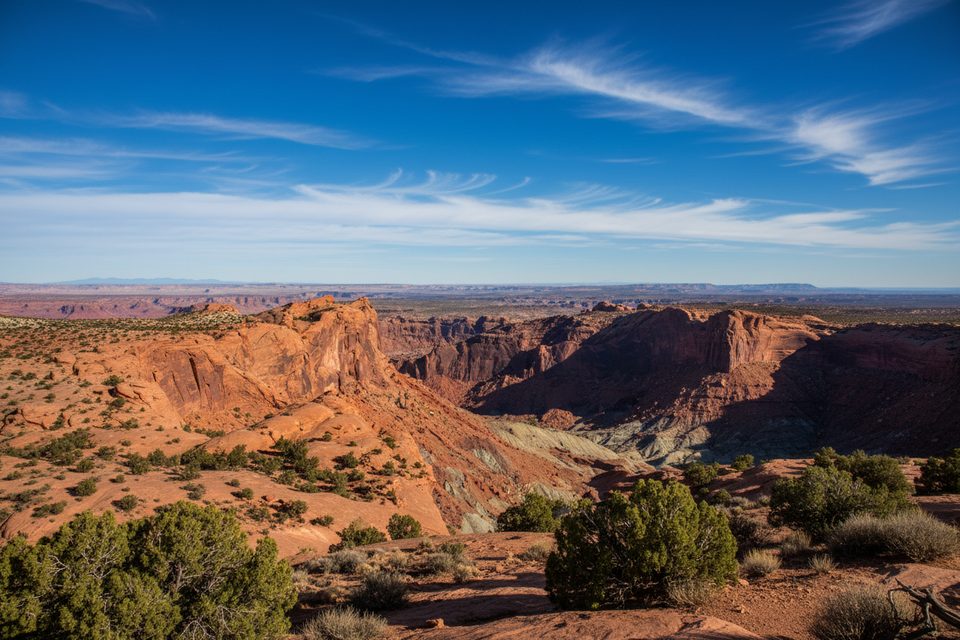
- A better sense of scale than the first overlook and a more panoramic slice of the Island in the Sky district.
- On-site interpretive info laying out the two leading geologic theories: an ancient meteorite impact versus a collapsed salt dome.
Getting There
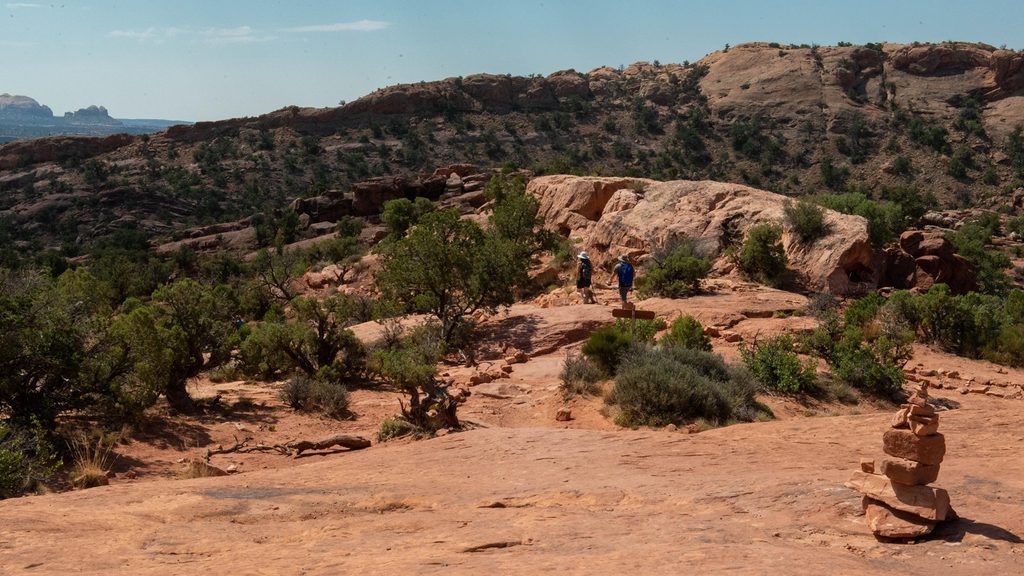
Continue past the first overlook on the signed Upheaval Dome Overlook Trail. Expect a short but more demanding extension over slickrock, carved steps, and cairn‑marked segments. Round trip from the parking area is roughly 1.6–1.8 miles with about 115 feet of gain—easy‑to‑moderate overall, but the final approach to this viewpoint feels more exposed.
Why It’s Unique
Upheaval Dome is famously puzzling. From this vantage, you can see rocks that were once buried far underground now thrust into daylight—exactly the kind of evidence that fuels the impact‑versus‑salt debate. It’s one of the park’s most distinctive scenes, and the higher perch makes it more compelling than the first stop for many visitors.
Best Time to Visit
Aim for morning or late afternoon to dodge heat and wind, with afternoon light often flattering the crater’s form. The first overlook draws the bigger crowds; continuing to the second tends to thin things out, especially earlier in the day and outside peak season.
Know Before You Go
- The trail is exposed: bring water, sun protection, and sturdy shoes.
- Follow cairns carefully across slickrock; wind can be gusty near the rim—mind the edges.
- Facilities (parking and restrooms) are at the trailhead, not at this overlook.
Wildlife
This stop is about geology and views; don’t plan on notable wildlife viewing here.
Where it is
38.4263, -109.9262Tips for Upheaval Dome second overlook
- 01Continue past the first overlook; the payoff is noticeably better here.
- 02Track the cairns on slickrock—losing the route is easy in spots.
- 03Pack extra water and a wind layer; there’s no shade or shelter.
- 04Afternoon light often photographs the crater best, but arrive early for parking.
Amenities
Near Upheaval Dome second overlook
All places →All trails →
0 mi awaySyncline Loop TrailThe toughest loop around the mysterious Upheaval DomeChallenging · 8.1 mi · 6 hr
0 mi awayUpheaval Dome Overlook TrailShort, steep walk to a geologic enigma with big views.Moderate · 1.3 mi · 1 hr
0 mi awayUpheaval Canyon TrailRemote sandy canyon to the White Rim with big-wall solitudeModerate · 3.5 mi · 2.5 hr
0 mi awayUpheaval Crater Spur TrailShort, steep spur to Upheaval Dome’s wild, mysterious crater viewsModerate · 1.8 mi · 1.5 hr
0 mi awaySyncline Loop OverlookTrailhead gateway to Upheaval Dome views and the Syncline adventureTrailhead · Parking
0 mi awayUpheaval Dome first overlookFast hike to a mind-bending view into a mysterious craterScenic Viewpoint · Exhibit
0.5 mi awayWhale RockShort slickrock scramble to big Upheaval Dome viewsTrailhead · Parking
0.8 mi awayUpheaval DomeShort hike to a bizarre, crater-like mystery with big viewsTrailhead · Parking