
Place · 0 mi away
Moderate
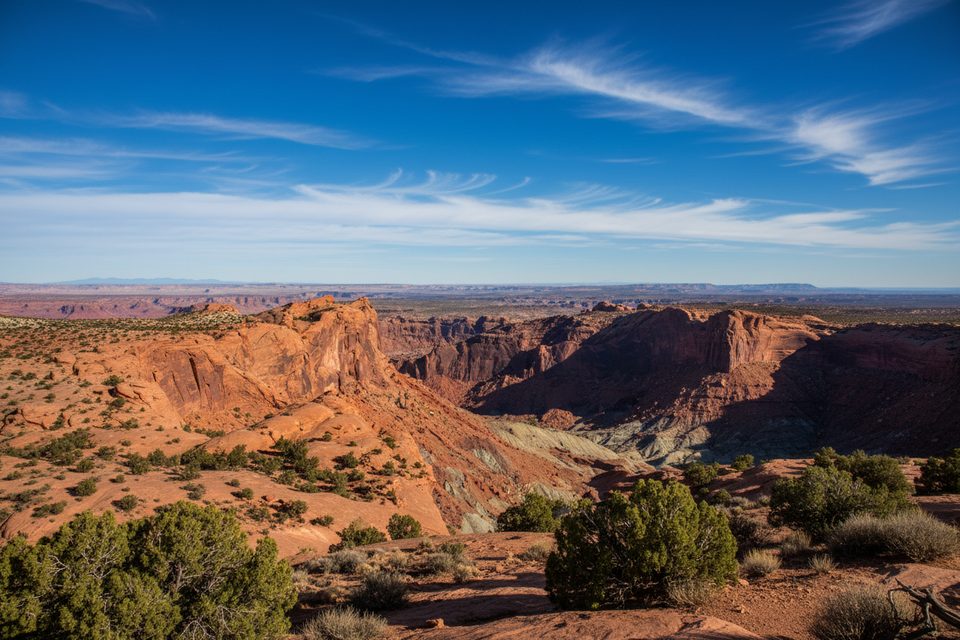
This short, punchy out-and-back climbs from the Upheaval Dome parking area to one or two signed overlooks on the rim of Upheaval Dome—Canyonlands’ most head-scratching geologic oddity. Plan on about 1.8 miles round trip if you continue to the second overlook, or a much shorter outing if you only visit the first. Expect roughly 1–1.5 hours total with time to soak in the scene.
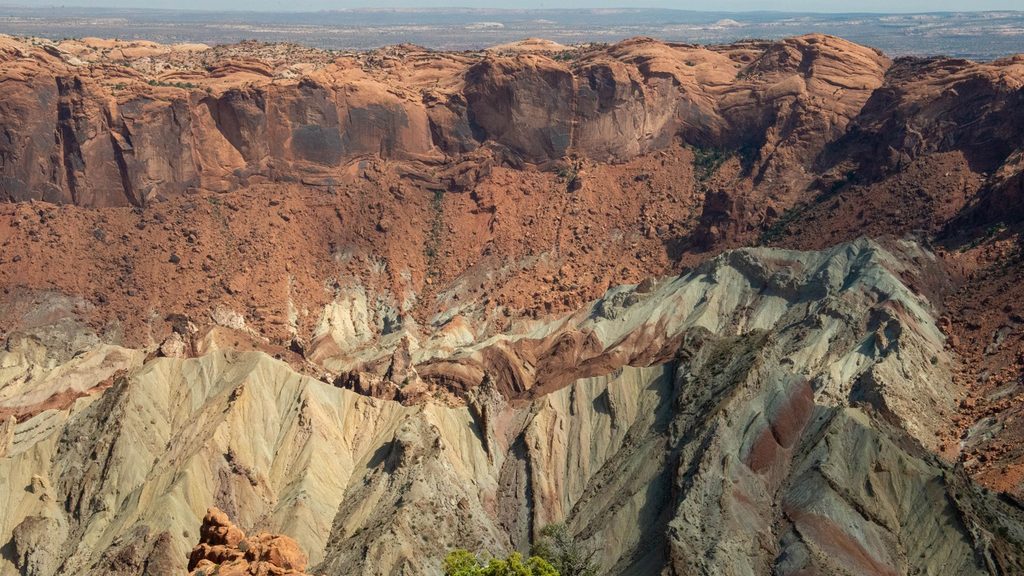
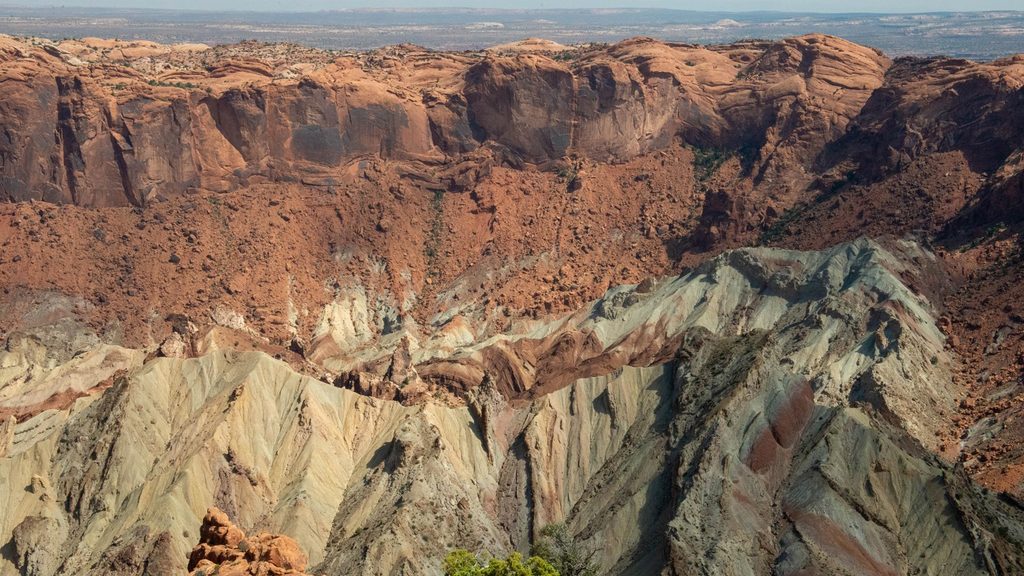
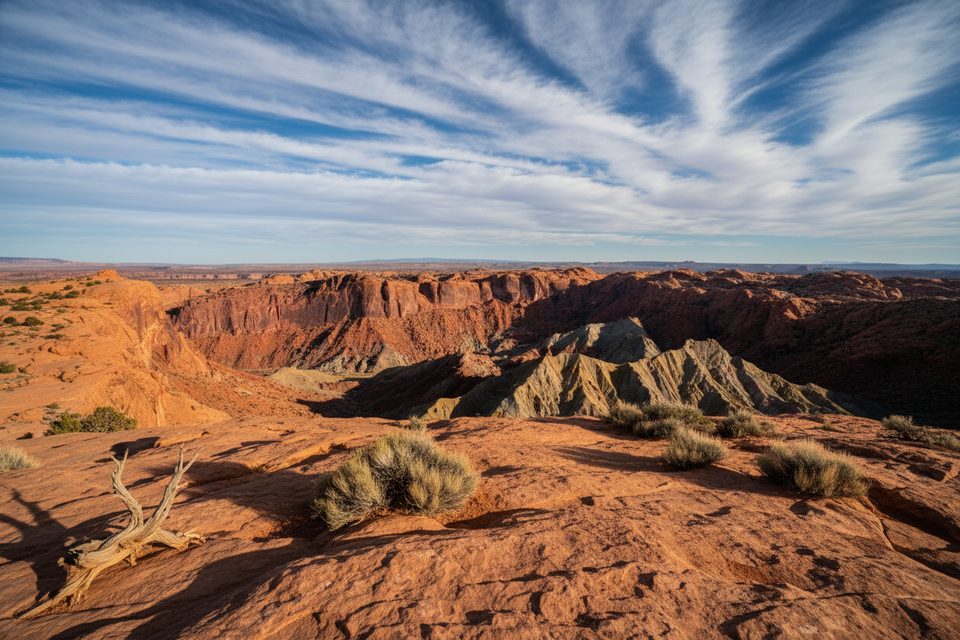
From the first overlook, you get a direct look into the chaotic bowl of Upheaval Dome: contorted, colorful rock layers wrapped around a central uplift. Interpretive signs here outline the big debate—meteorite impact vs. salt-dome collapse—so you’re not just staring into a hole; you’re reading the mystery as you go. Follow cairns beyond the first viewpoint to reach the second overlook for expanded angles into the crater and added views toward Upheaval Canyon.
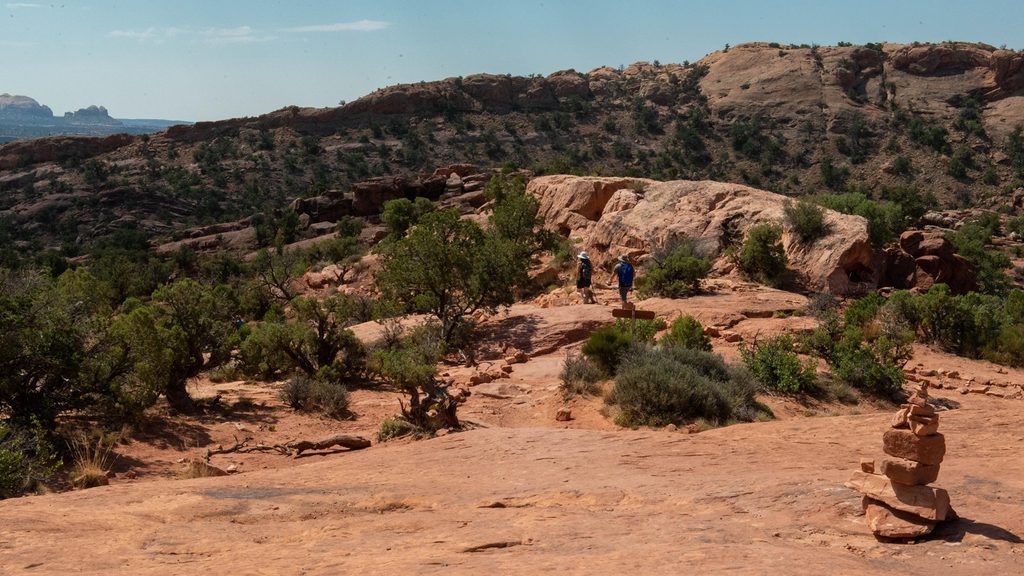
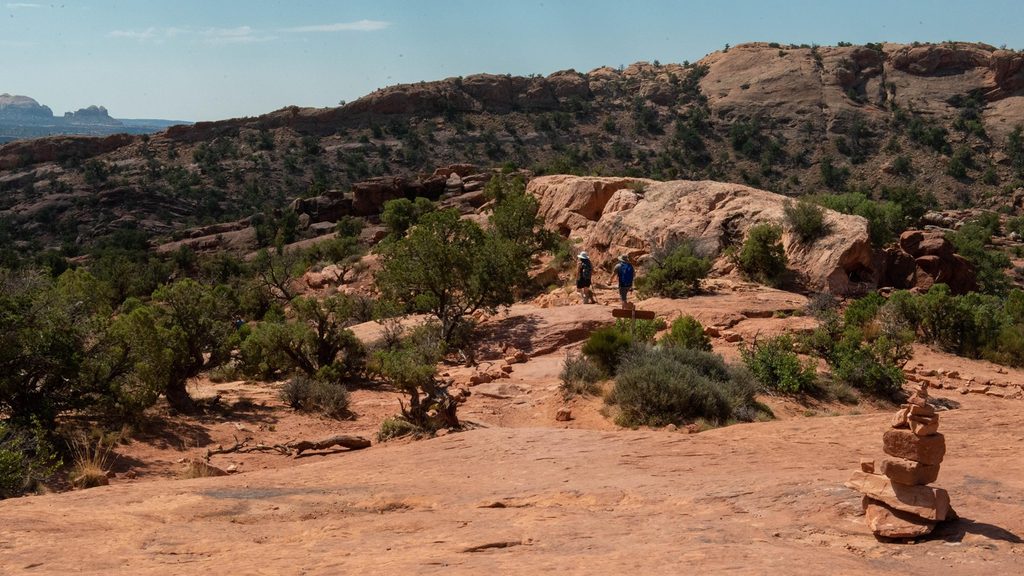
The path is well signed, short, and steep in bursts, with stone steps, uneven rock, and stretches of slickrock. It’s straightforward to the first overlook; continuing to the second is still clear but relies on cairns. Early on, you’ll cross the junction with the very challenging Syncline Trail—don’t get lured onto it unless that’s your plan; it circles the feature and does not enter or even view the crater’s center.
You can visit year-round, but spring and fall bring the best temperatures. Summer is full sun and heat—start early and carry more water than you think you need. Winter can bring patches of snow or ice; traction may help on the stone steps. For photography, earlier or later light adds definition to the crater’s textures and colors; midday tends to wash things out.
Park at the signed Upheaval Dome parking area; the overlook spur starts here.
Short but steep with stone steps and slickrock; full sun exposure. The route crosses the very challenging Syncline Trail—don’t accidentally continue on it. No water on route; carry plenty, especially in summer.
Place · 0 mi away
Place · 0 mi away
Place · 0 mi away
Place · 0.5 mi away
Challenging · 0 mi away
Moderate · 0 mi away
Moderate · 0 mi away
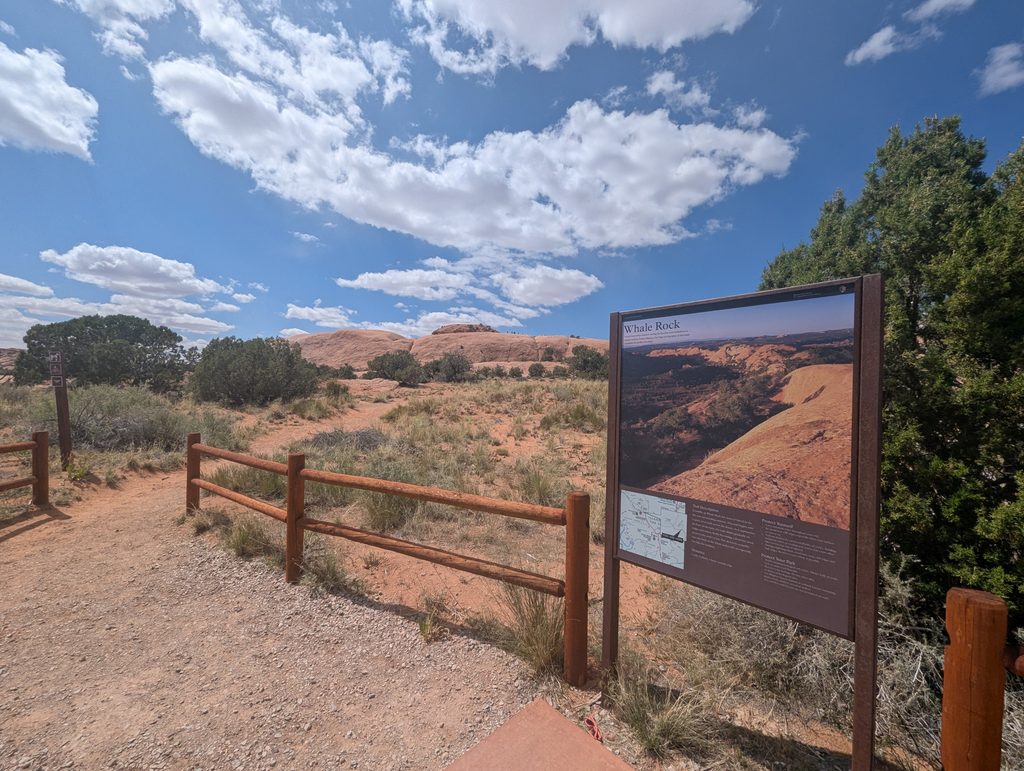
Easy · 0.7 mi away
Parkwolf Tour Guide