
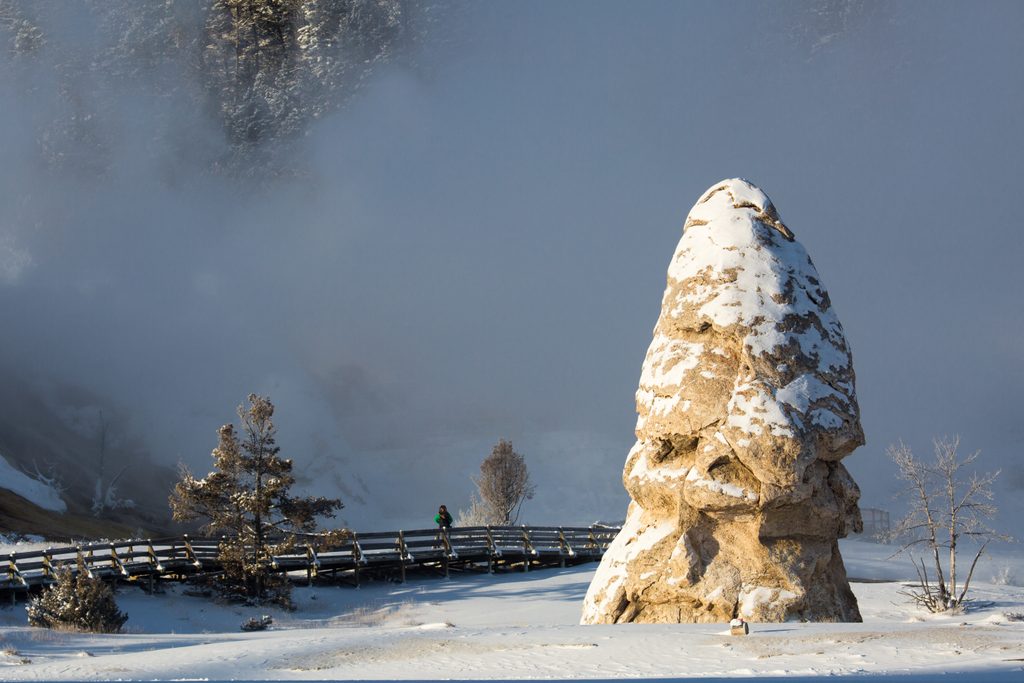
Place · 0 mi away
Challenging
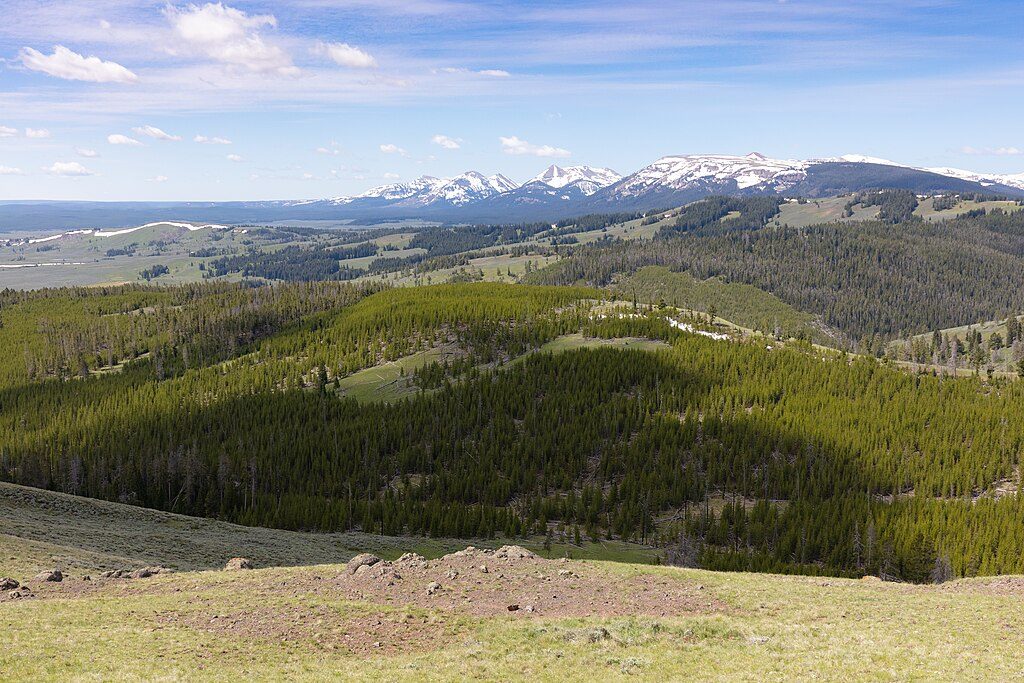
Sepulcher Mountain is a demanding 11-mile loop that earns its keep with panoramic summit views and a satisfying variety of terrain. Expect a sustained climb of roughly 3,400 feet to a 9,652-foot high point, then a long, scenic descent—classic Yellowstone big-country hiking. It’s strenuous, exposed up high, and far quieter than the Mammoth area below.
Most hikers start near Mammoth Hot Springs. A popular counterclockwise loop briefly follows Clematis Creek, then bears right at early junctions to climb through forest and meadows toward the summit. The upper mountain mixes volcanic boulder fields with steep switchbacks before topping out. The descent drops the broad south side to Glen Creek, then heads left (southeast) to a divide; take the left over Snow Pass, then stay attentive at subsequent splits to close the loop. Carry a good map or GPS—junctions around Snow Pass can trip people up in patchy snow or low visibility.
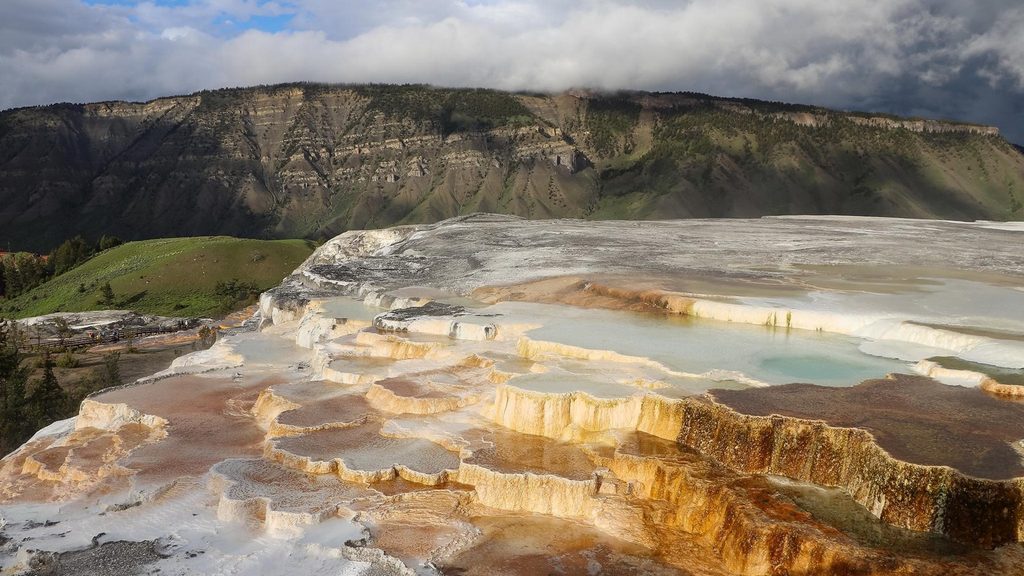
From the top, the views sprawl across Mammoth Hot Springs, Mount Everts, the Absarokas, Swan Lake Flats, the Gallatin Range—and on the clearest days, even the Tetons. Along the way, look for the hoodoo-like volcanic formations that inspired the mountain’s name, open grasslands flecked with wildflowers, and stretches of lodgepole forest. Wildlife is a real possibility here: elk are common, and both black and grizzly bears use the area—give them space and be prepared.
This is a strenuous, full-value day. Most strong hikers take about 6–8 hours; plan around 7 hours with steady breaks. The ascent is sustained, and the upper ridges can be windy with little shade. Early season can add lingering snow near the summit and on the east side.
June through October is typically the sweet spot once snow recedes. Start early for cooler temps, calmer winds, and the best chance at afternoon storm avoidance. Weekdays see fewer hikers. Clear, post-frontal days deliver the best long-range views and photo light up high.
This is prime bear country. Hike in a group, make noise, carry bear spray and know how to use it, and give wildlife ample distance. Lightning is a real risk on the open upper mountain—don’t linger on ridges if storms build. No pets, no motorized use, and stay on established trails.
Start near Mammoth Hot Springs: trail access on the west side of Grand Loop Road just south of the Mammoth Hot Springs Visitor Center, with additional access from the lot between the Stone House and the hot spring terrace. An alternate start is the Glen Creek Trailhead across from Bunsen Peak. Lots can fill in summer.
Grizzlies frequent the area—carry bear spray and hike in groups. Upper ridges are exposed to wind, sun, and lightning. Water is limited. Watch route-finding around Snow Pass junctions, especially if snow lingers.
Place · 0 mi away
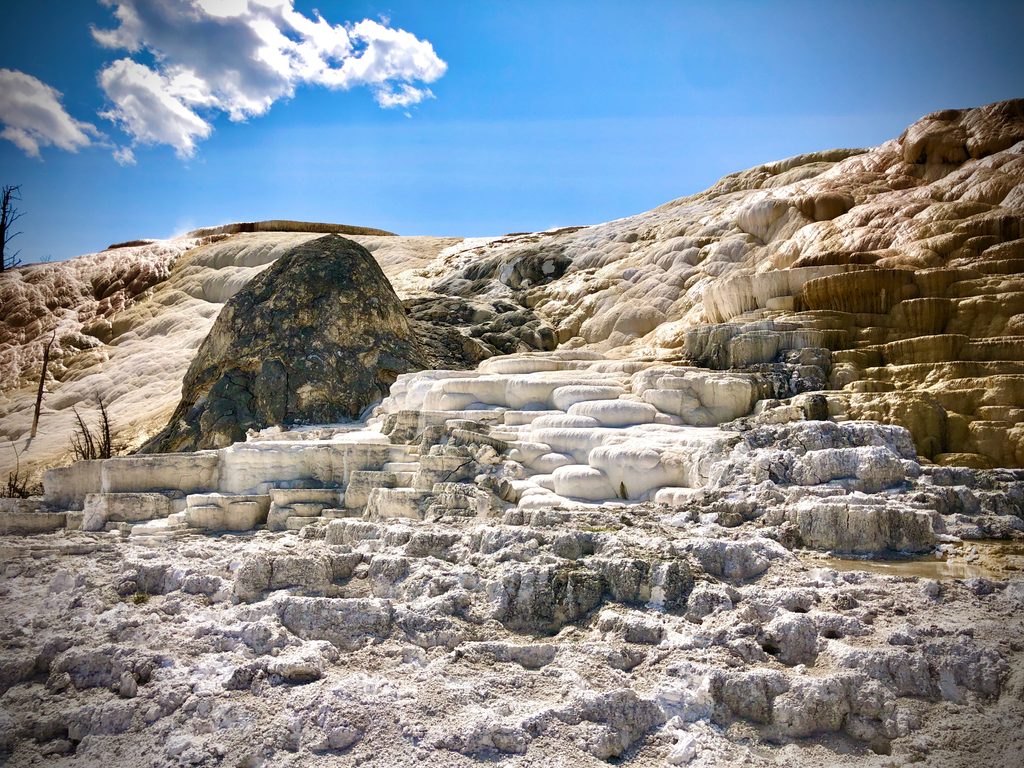
Place · 0.1 mi away
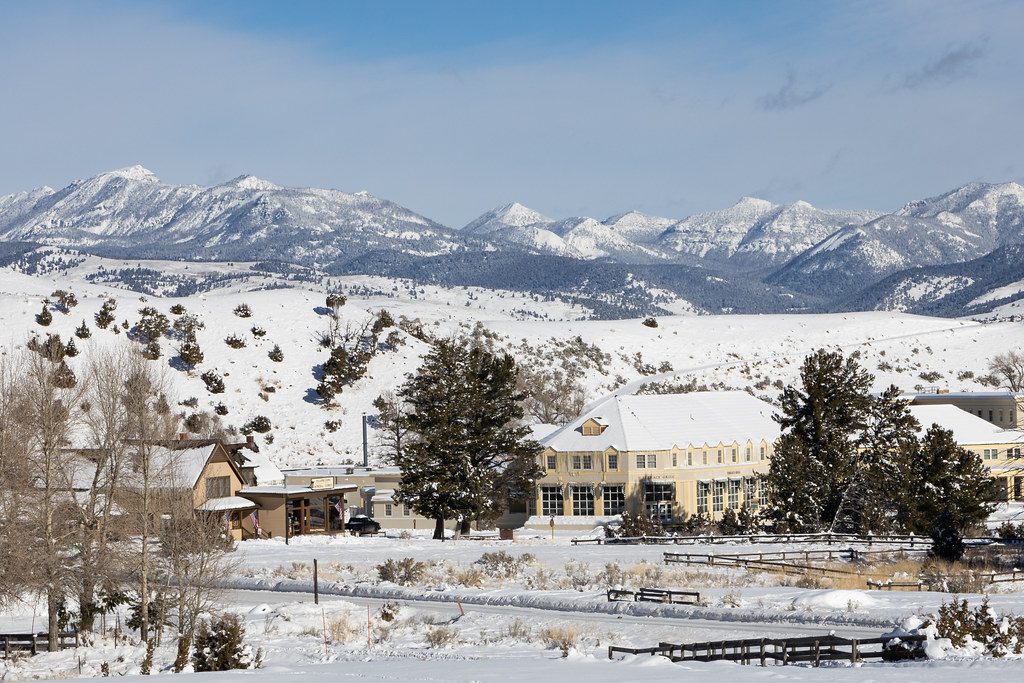
Place · 0.2 mi away
Place · 0.2 mi away
Moderate · 0 mi away
Easy · 0.1 mi away
Easy · 0.1 mi away
Easy · 0.4 mi away
Parkwolf Tour Guide