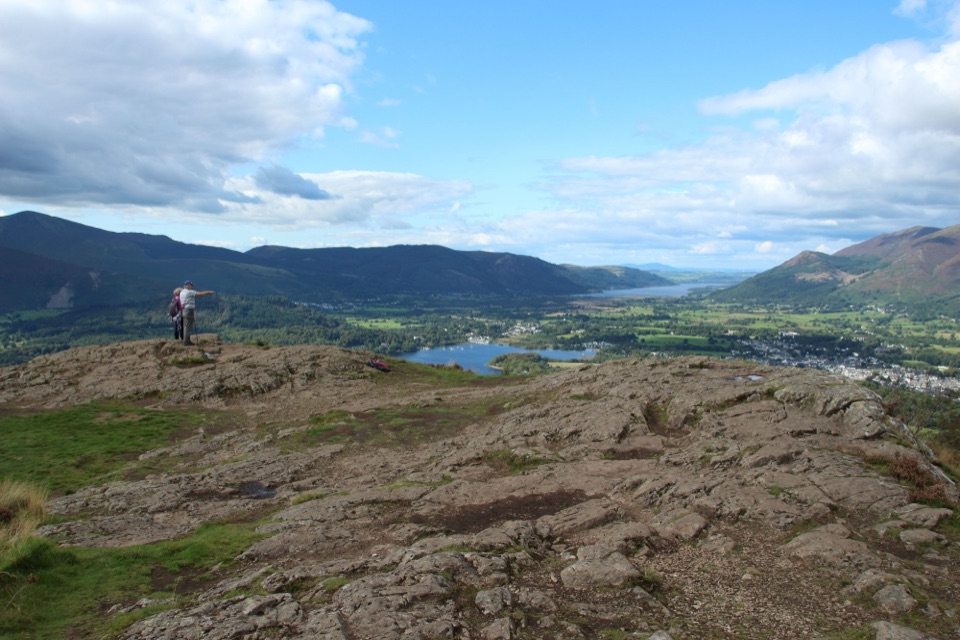
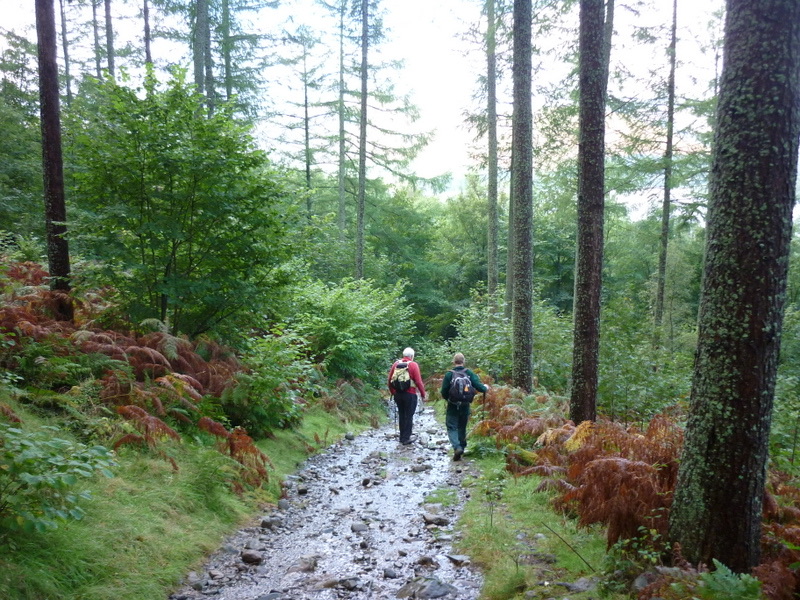
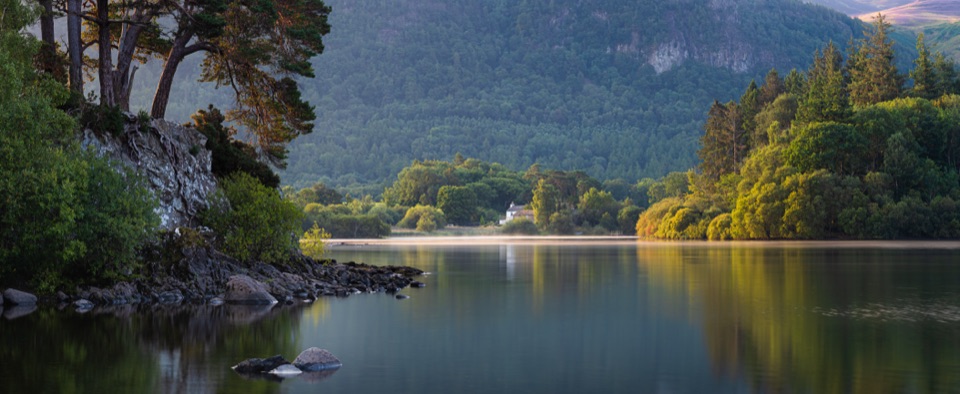
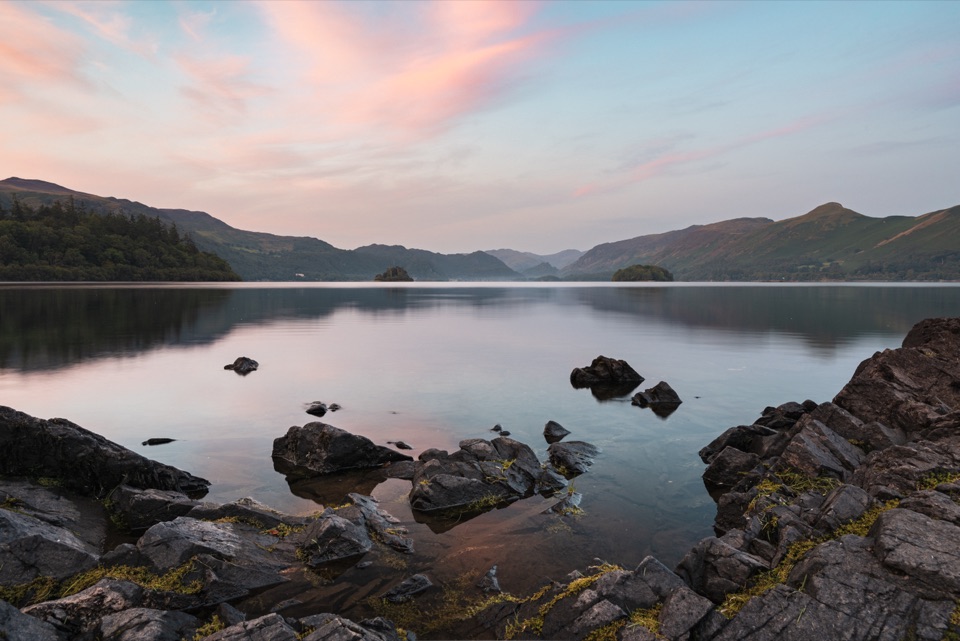
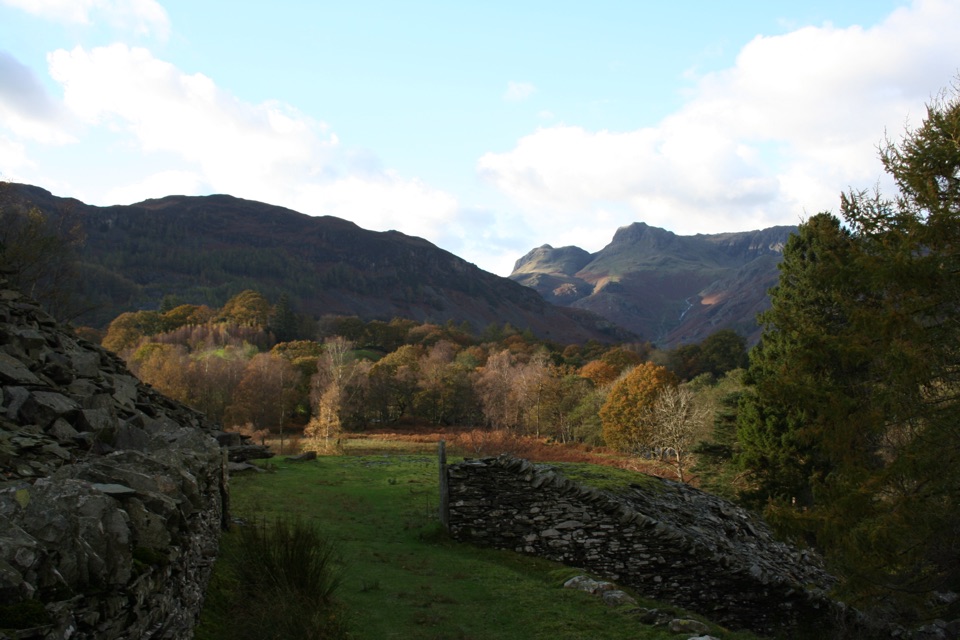
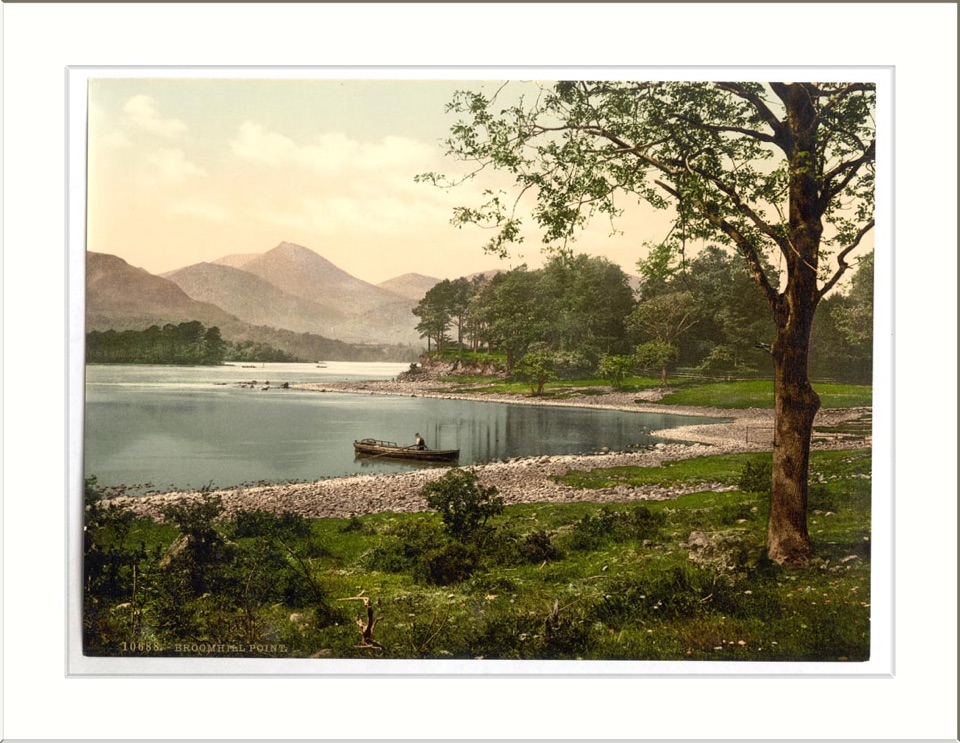
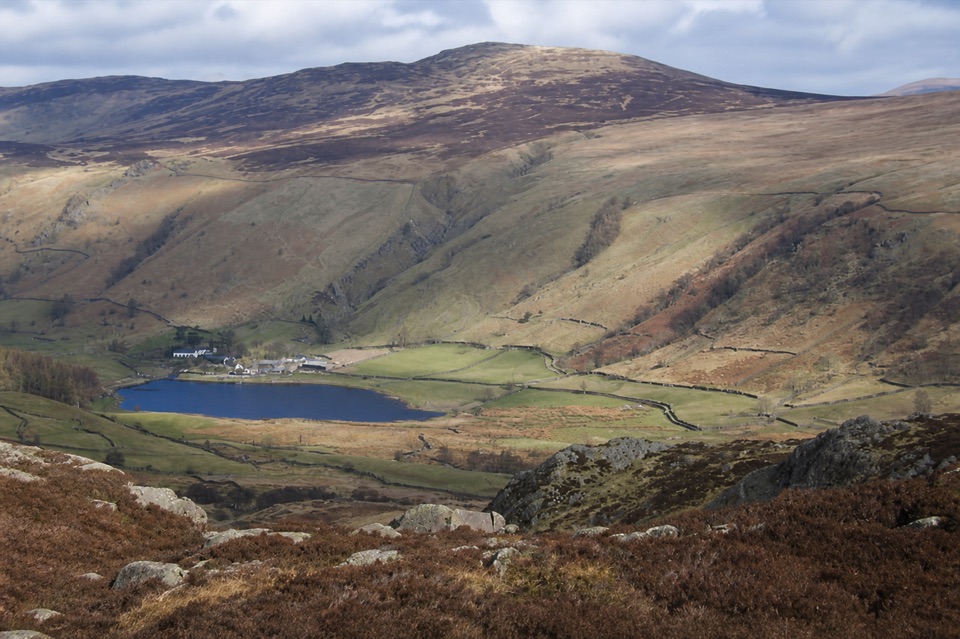
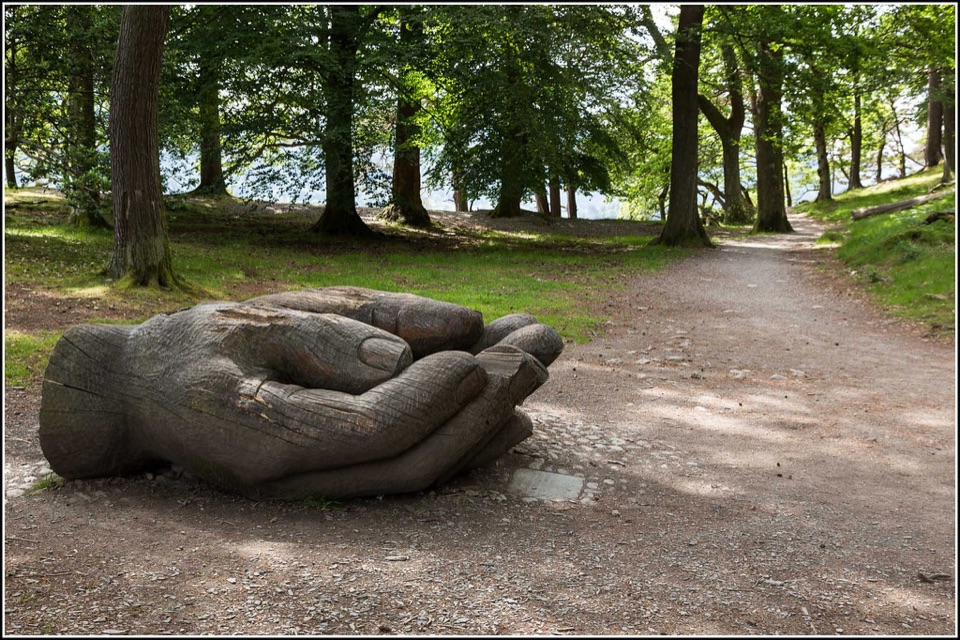
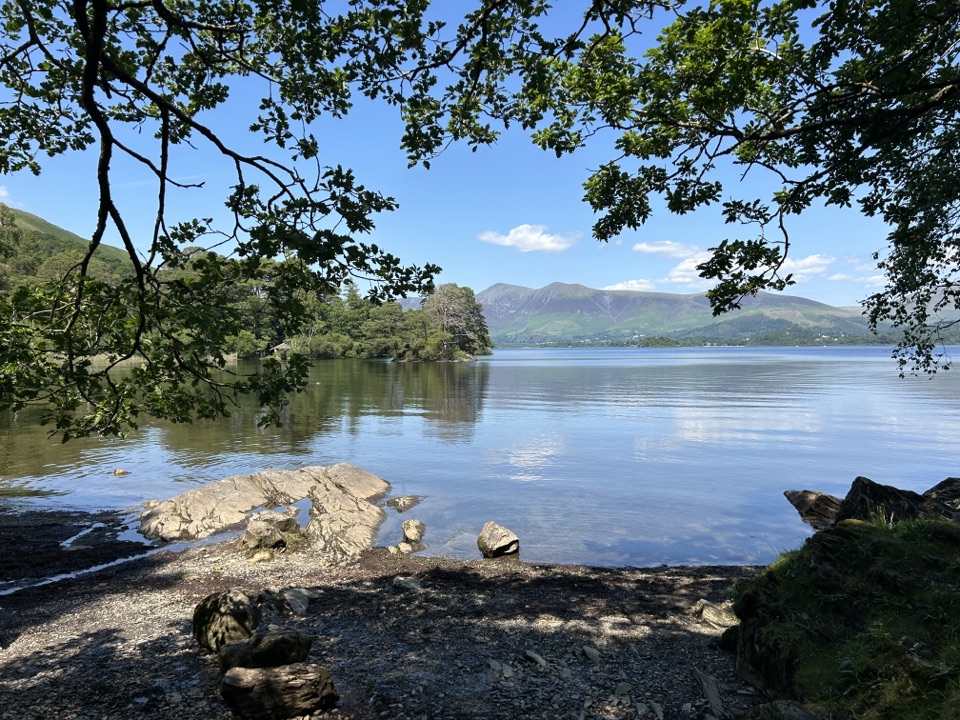
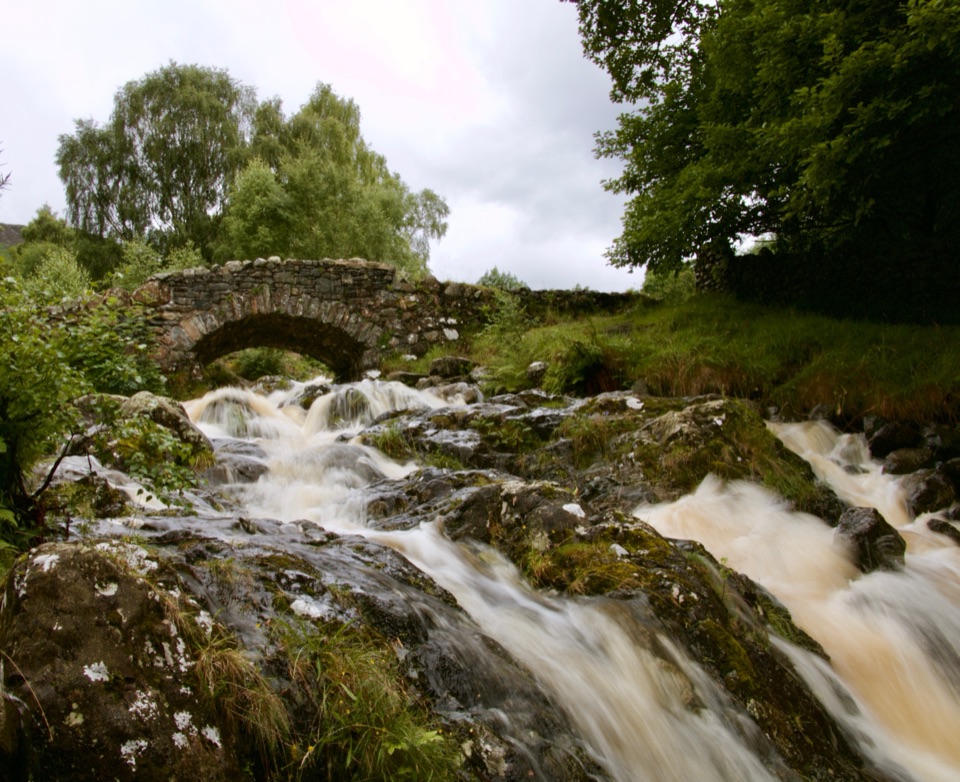
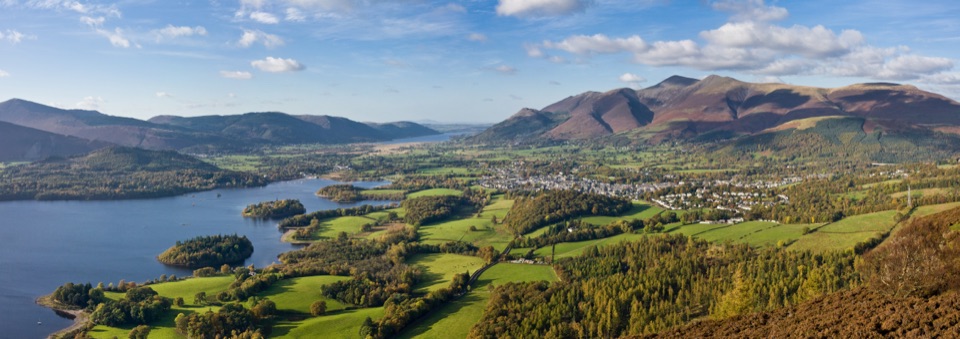
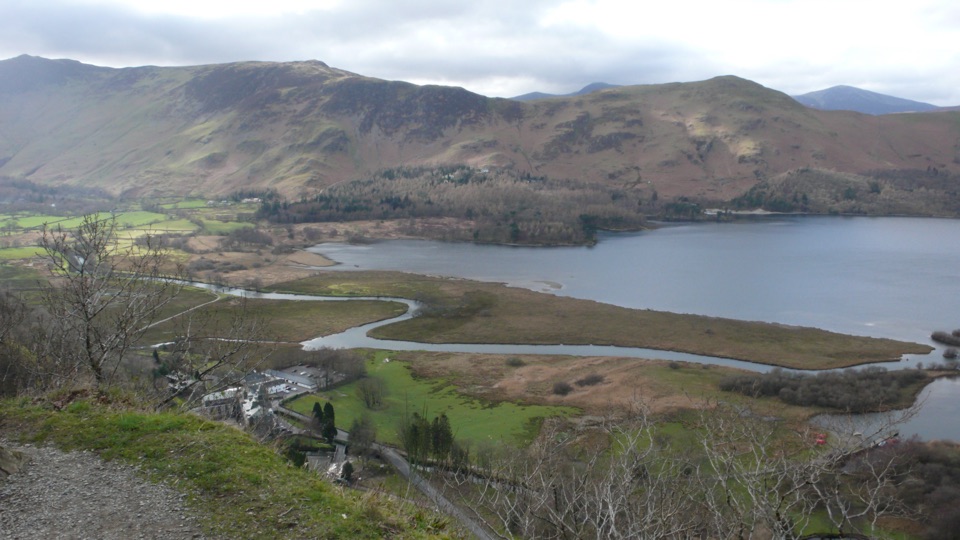
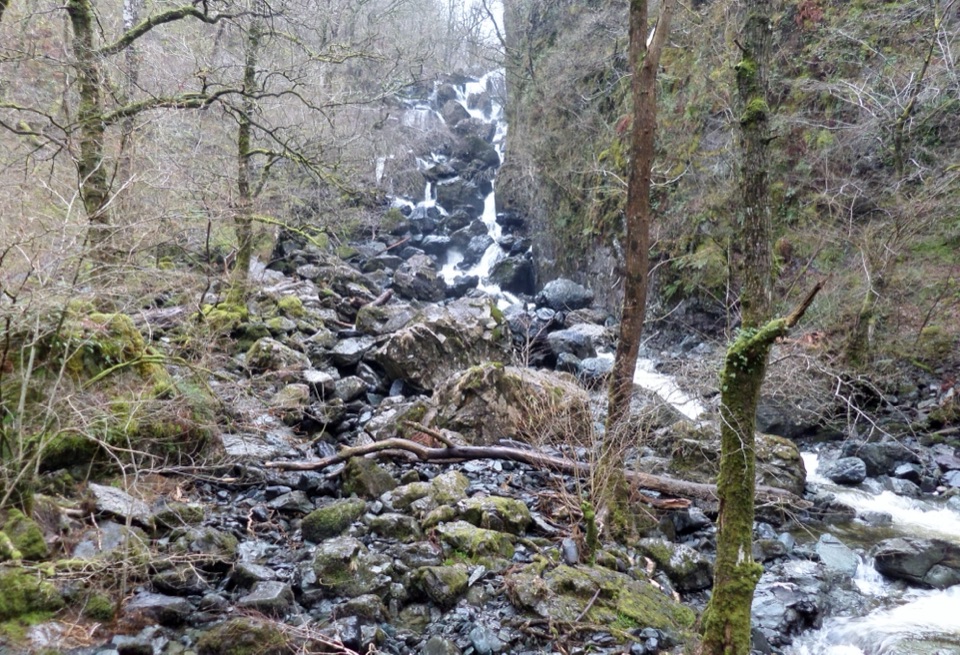
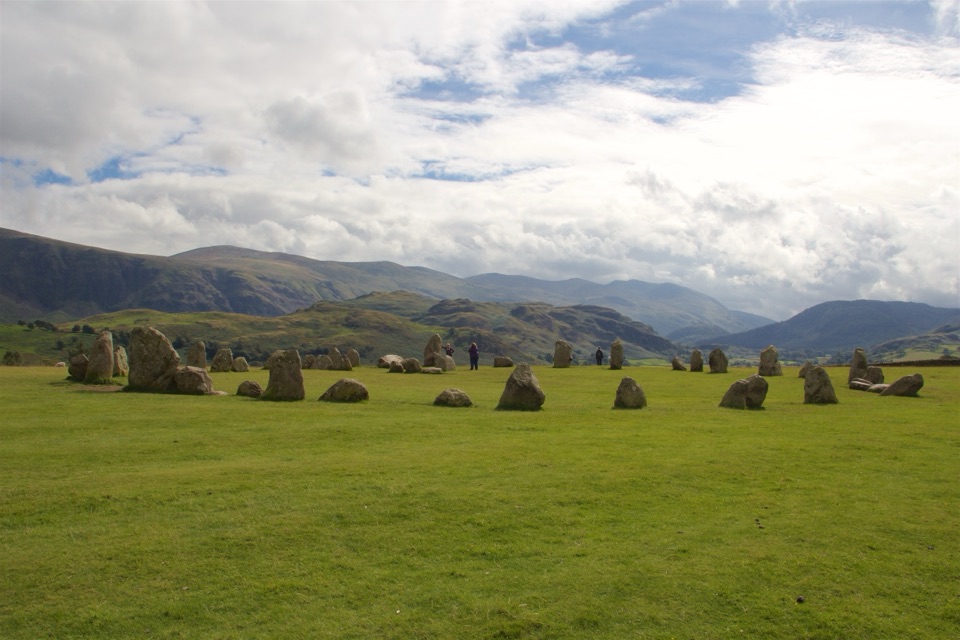
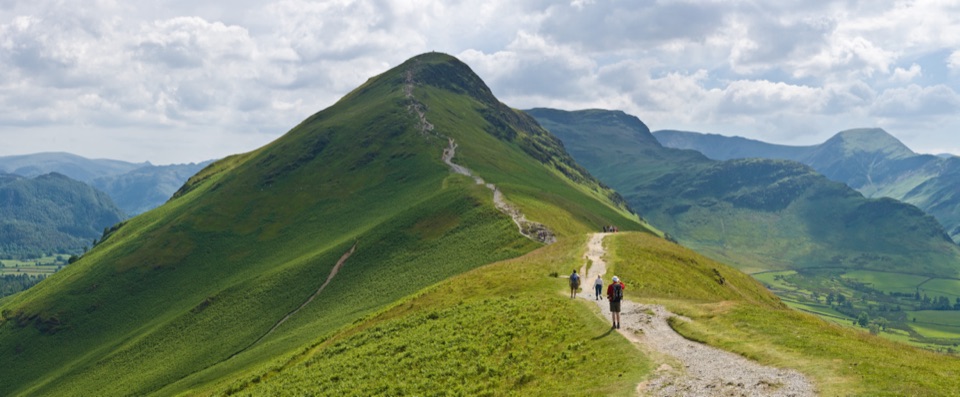
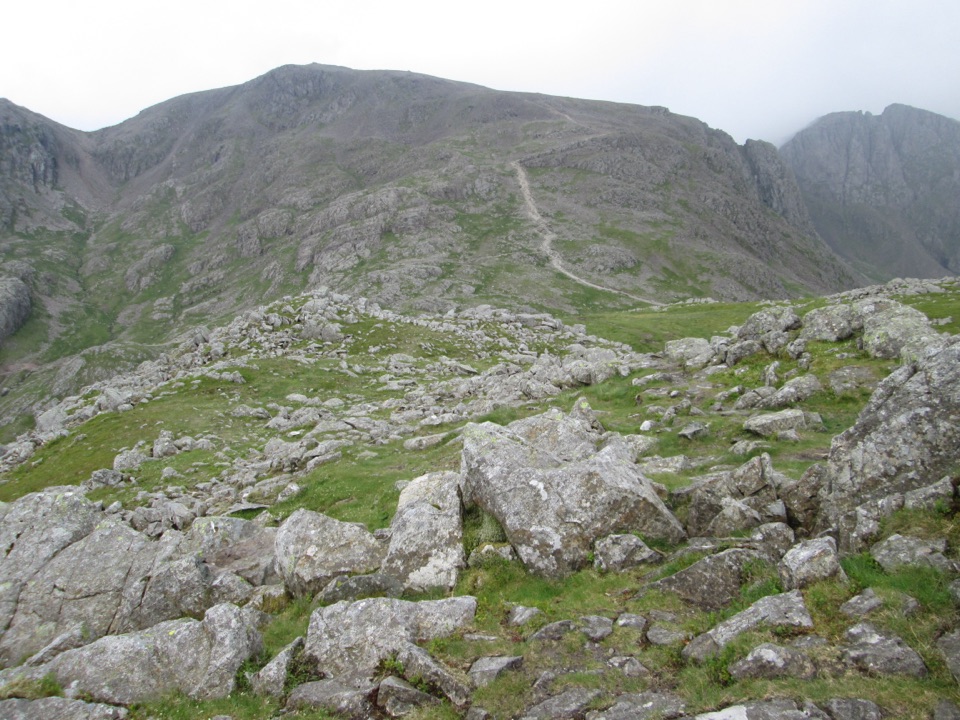
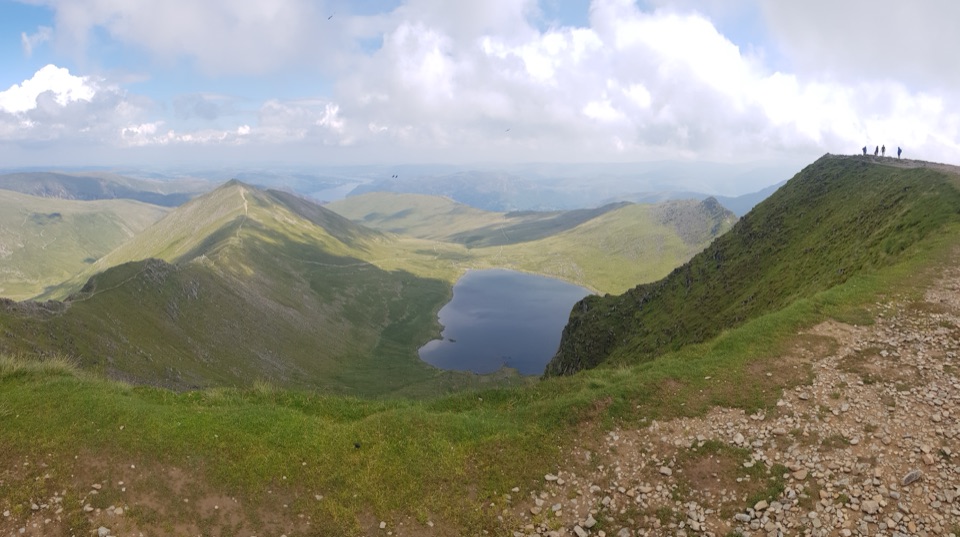
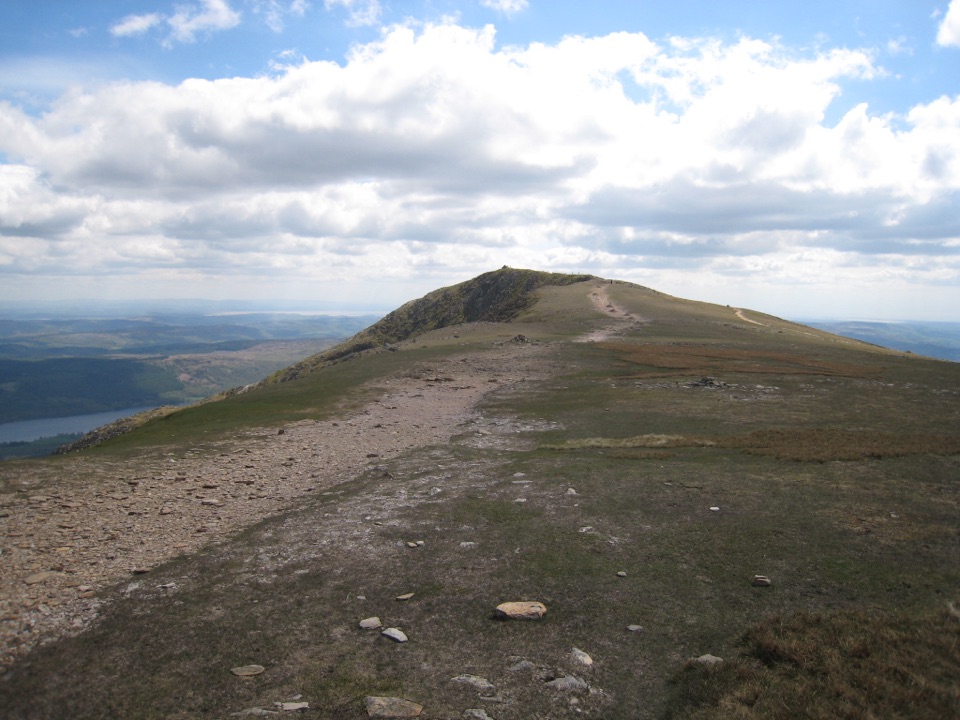
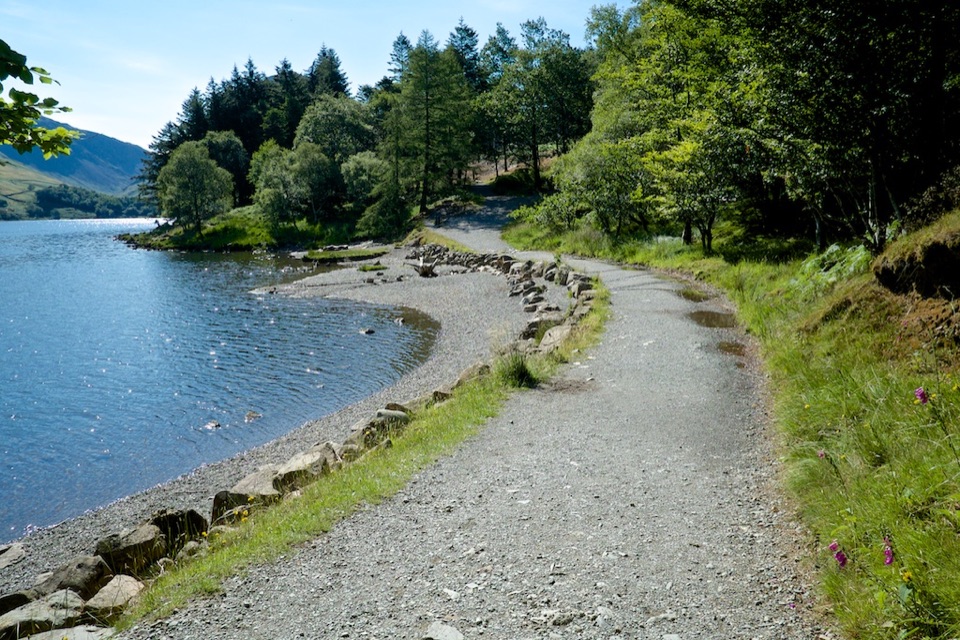
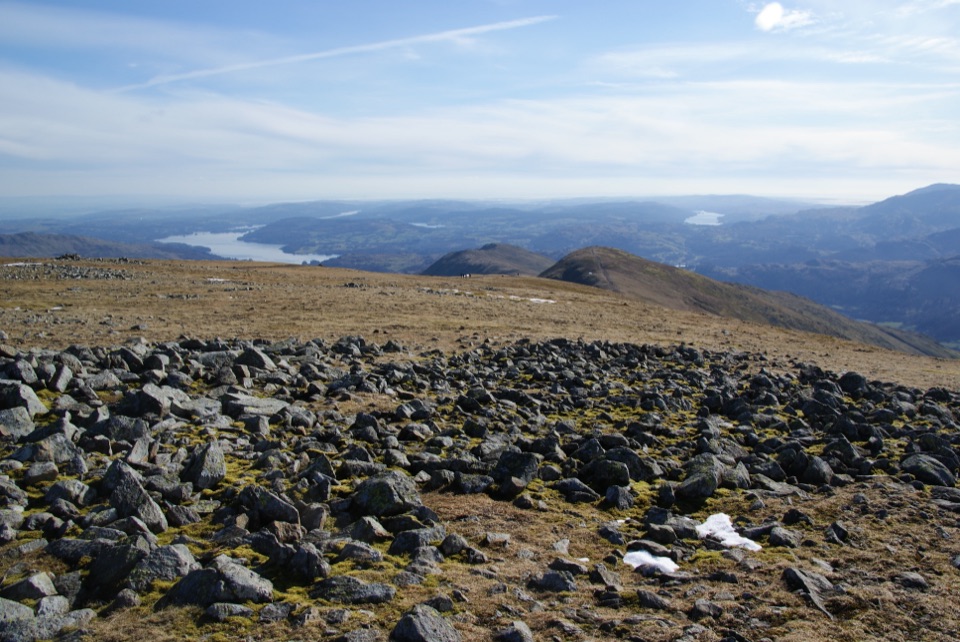
Be clear-eyed about this one: it is compact but genuinely hilly, with rough ground rather than smooth path. The terrain samples run from roughly 90 m near the car park to around 355 m on the high crag section, so the climb is sustained even if it is never long. Expect a mix of gravel, grass, bare rock, stepping stones, short bridge and lane sections, and stretches that are wet or boggy after rain. Boots with grip are worth having, and the descent toward Ashness has rocky steps in places.
Wayfinding is mostly straightforward but there are three points to pay attention to:
- The signed junction above Great Wood where you turn toward Castlerigg and Walla Crag.
- The stile in the wall that takes you out to the summit rocks.
- The signed gate on the return from Ashness Bridge, where you need to stay on the lower path.